Thimbleanna

Socks

A Few Sock Tips

Well hello there!  The weekend is getting away from me in a hurry.  I hope you’re having a good one.  My weekend has been pretty lazy.  I went over to MeMum’s this afternoon and watched a movie.  We’ve been watching Netflix movies for the last several Saturdays.  Last weekend we watched Keeping Mum and we loved it (thanks for the great recommendation Melly and Cami) — highly recommended!

In the last month or so, I’ve had a few invisible friends ask me some sock knitting questions, so I thought I’d write down a few things I’ve learned about sock knitting for those of you who are beginners.  And for those of you who harbor a secret desire to start knitting socks (yoohoo Penny…we know that means you LOL!)  I’m by no means an expert and I’m sure all sock knitters have their own way of doing things — this is what works best for me.

Mountain Socks

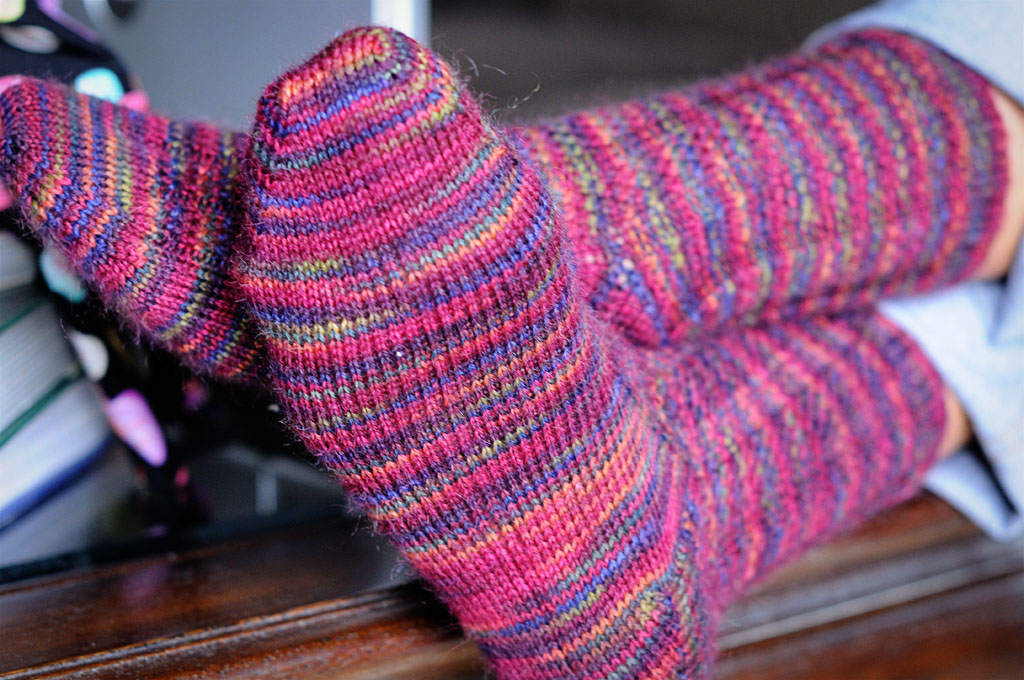
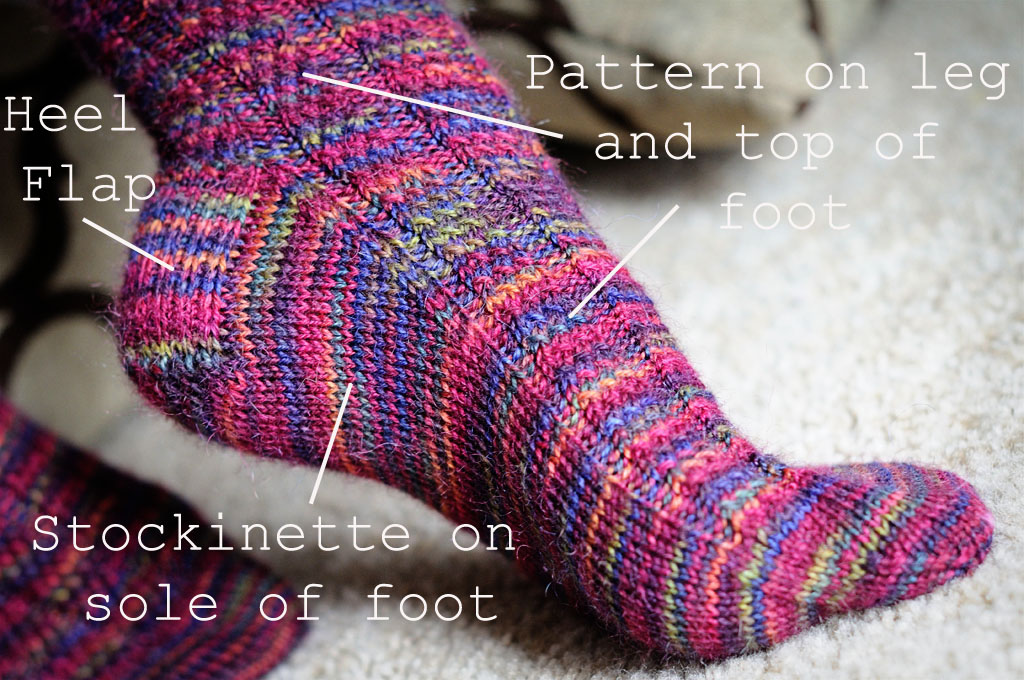
Socks really aren’t as complicated as you might think.  When I took a sock class, the instructor kept talking about a ratio of stitches, but I couldn’t figure out what she was talking about.  After I had a few pairs of socks under my belt, it made more sense. Try to think of a sock in halves.  The front half and the back half.  The front half is the front half of the leg and it runs down on top of the foot.  The back half is the back half of the leg and it runs down the heel and along the bottom of the foot.  Your sock stitches are evenly divided between front and back.  So, for me, I make a sock with 64 stitches — 32 stitches for the front half of the sock and 32 stitches for the back half.

Mountain Socks

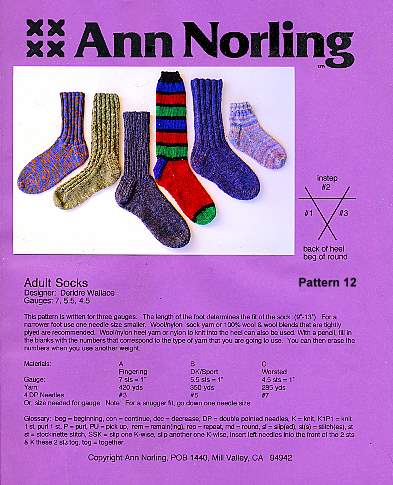
I always use the Ann Norling basic sock pattern for all of my socks.  I learned with this pattern and I know that it will always fit me.  I think finding a basic pattern that works for you is key to sock success.  Here’s a picture of the pattern I use:

Ann Norling

Then, from this basic sock pattern, I vary the pattern (note how the word pattern is an overloaded term here) on the leg and the top of the foot.  So, for example, if I say I made a pair of socks from the mockery pattern, I really mean that I used my basic Ann Norling sock pattern, but for the cuff and top of the foot, I used the decorative stitches from the mockery pattern (that means that if you click on the mockery pattern, you’ll see that the only instructions I actually used were rounds 1 – 10 of the leg section.)  I always knit approximately a 1-inch ribbing at the top of the cuff, plain stockinette on the bottom of the foot and either plain stockinette or the eye of partridge stitch on the heel flap.

Mountain Socks

When I get to the instructions for the heel flap on my Ann Norling pattern, I substitute eye of partridge instructions.  There are lots of eye of partridge variations out there — here is my favorite:

Row 1: sl1, (k1, sl1) to last stitch, k1
Row 2 & 4: sl1, purl across all stitches.
Row 3: sl1, (sl1, k1) to last stitch, k1.
Repeat Rows 1 – 4 for the length required for your heel flap.

And, back to that ratio thing mentioned above, the number of rows in the heel flap should equal 1/2 the total number of stitches.  So, in my 64-stitch example, my heel flap will be 32 rows of stitches.

Mountain Socks

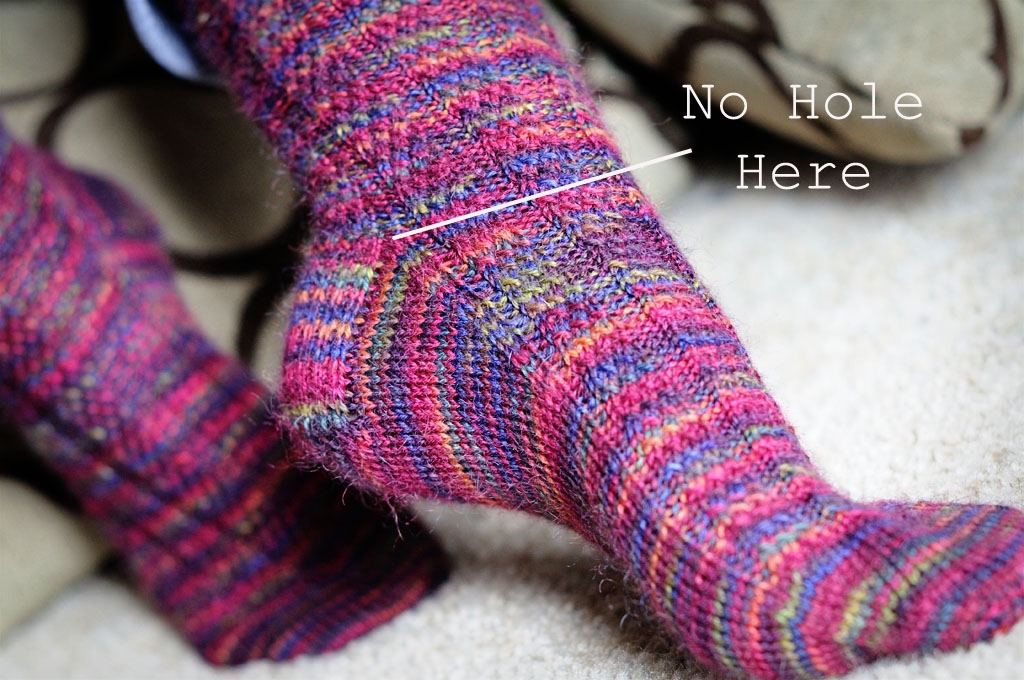
The first time I made socks, I had a hole in the valley of the “V” of the sock’s gusset.  I ripped it out and signed up for a sock class.  The teacher recommended that if we got a little hole, we should wait until the sock was finished, then turn the sock inside out and run a piece of yarn around the edge of the hole and pull it tight until the hole closed.  I really didn’t like that suggestion, so I started picking up an extra stitch in that little valley.  It’s incredibly difficult to explain, but luckily for us, Jean has a great little video to show you what we do to prevent that little hole from forming.  It’s a great tip and it works every time.

Mountain Socks

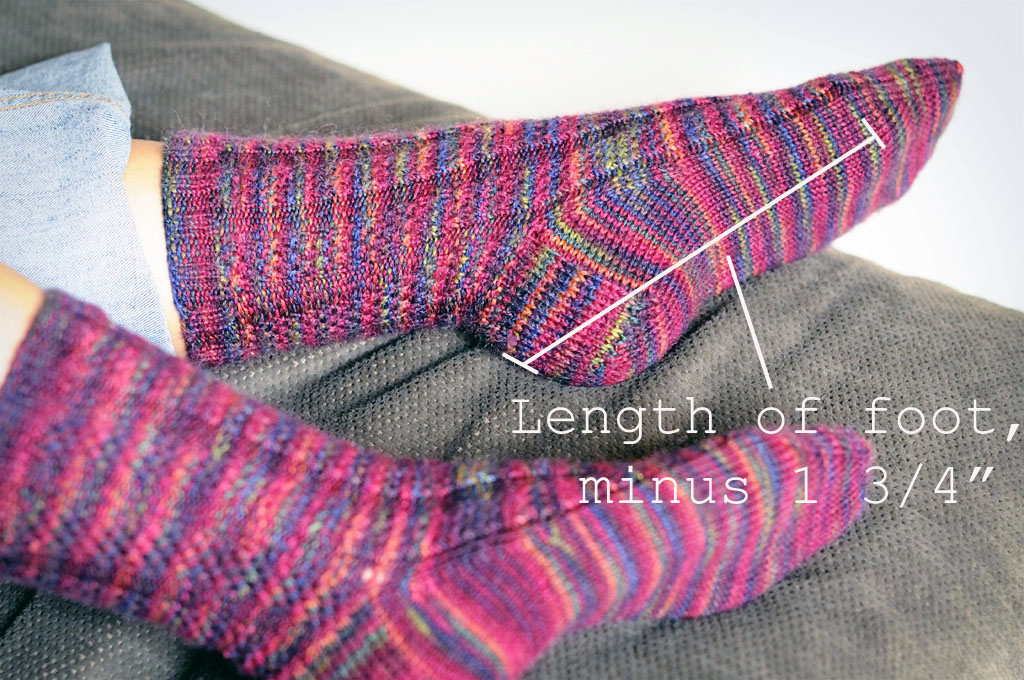
To determine how long to make the foot of your sock, measure the length of your foot, from heel to toe.  Then subtract 1 3/4 inches from that measurement and when you reach that length, as you’re knitting the foot, you can begin your toe shaping.  So, for example, if your foot measures 9 inches, knit the foot until it measures 7 1/4 inches and then begin your toe shaping.

Mountain Socks

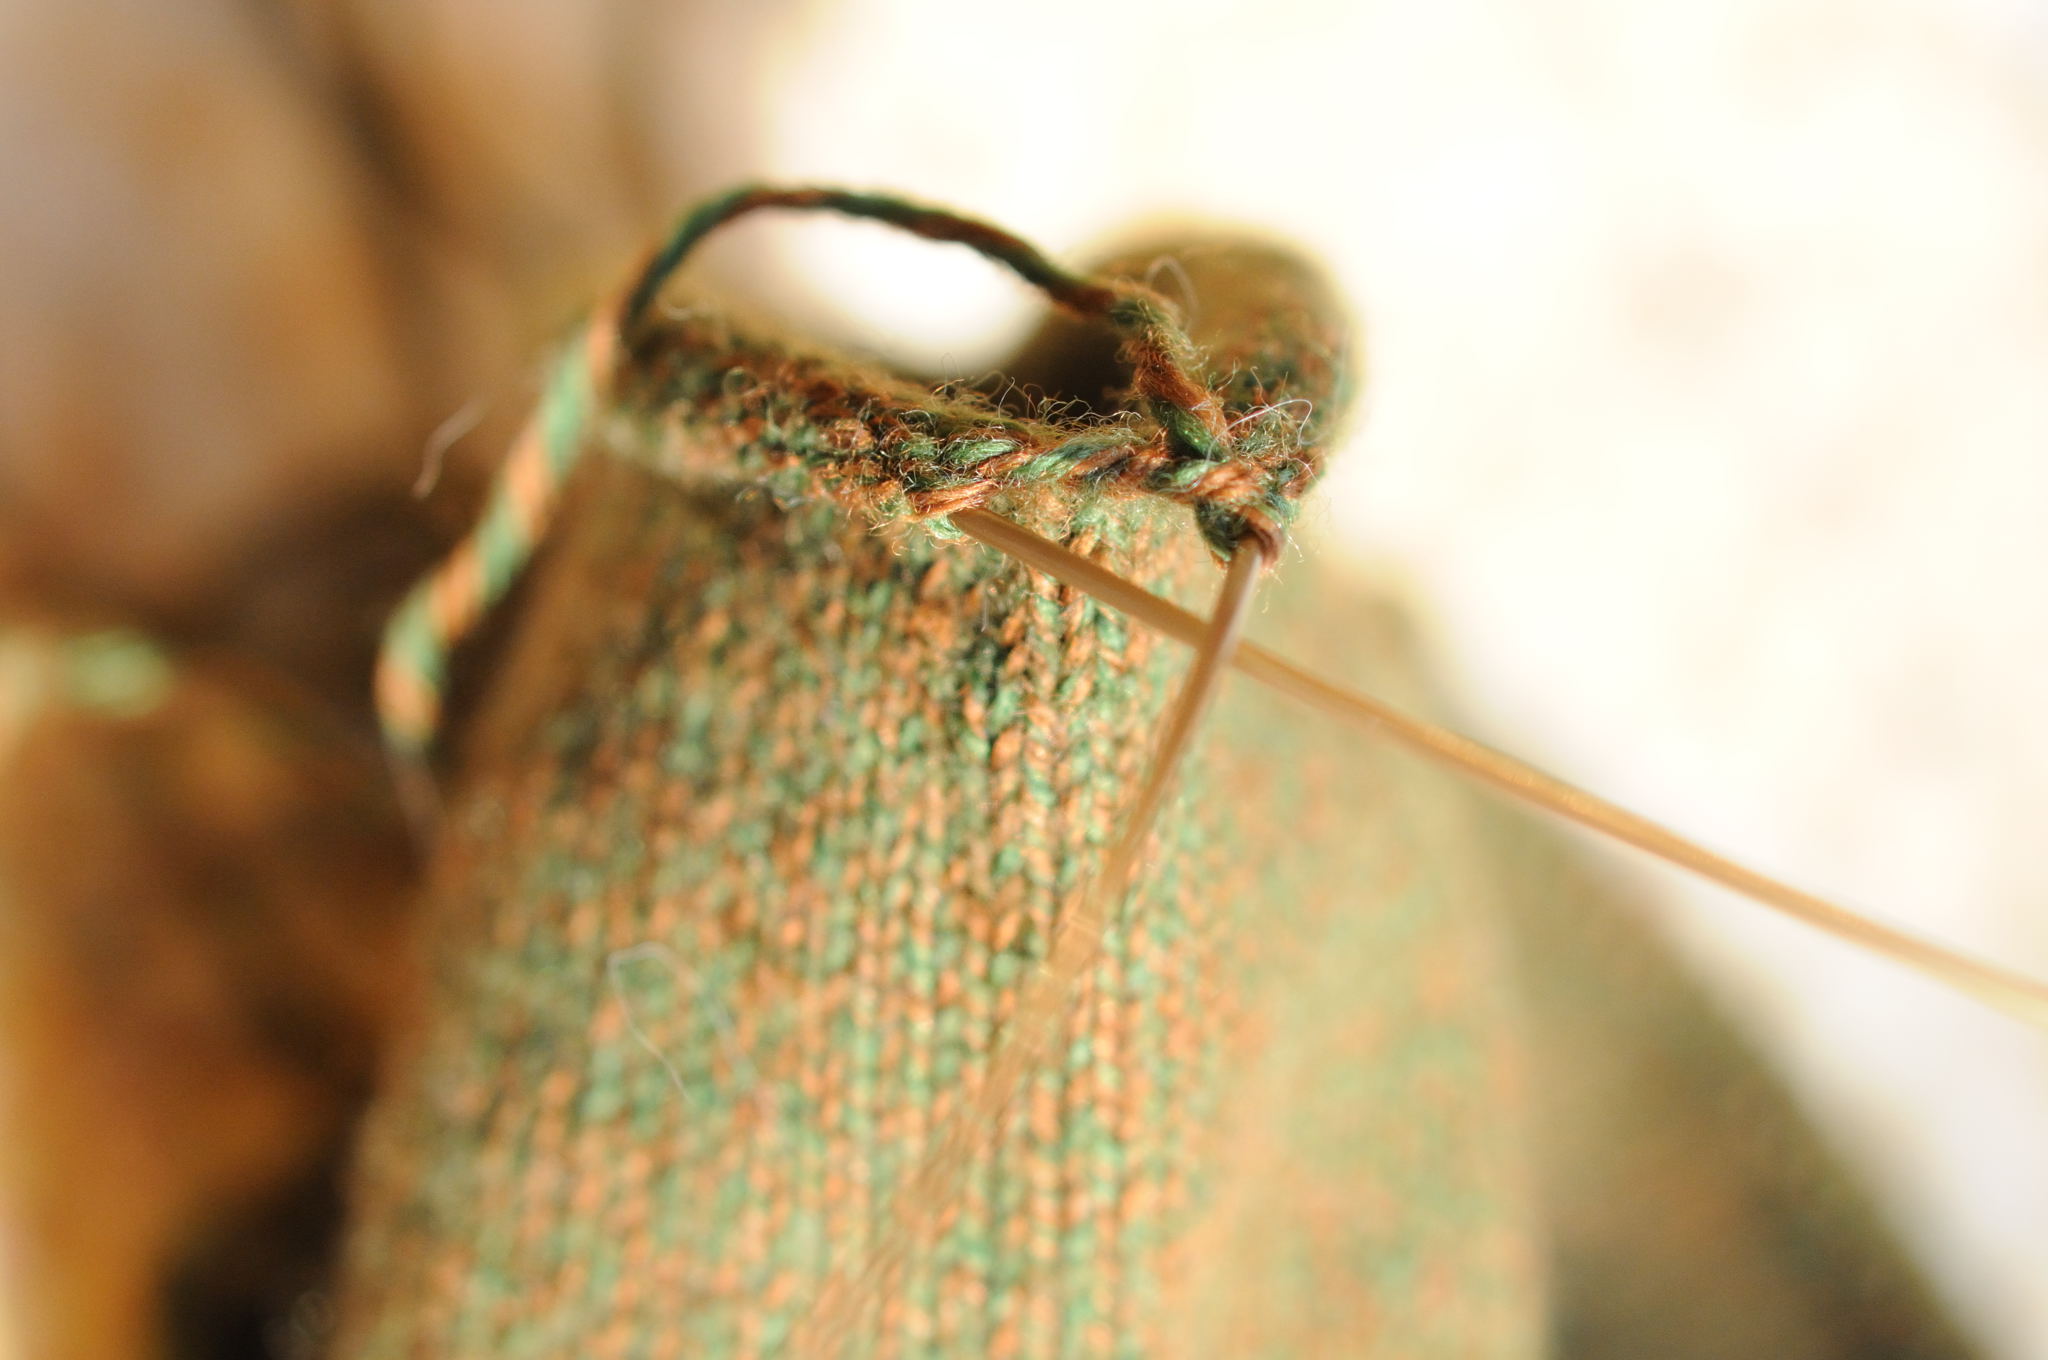
Finally, at the end of the toe shaping, the sock is finished off with the kitchener stitch.  For some reason, many people have trouble with the kitchener stitch.  As long as I have the following instructions in front of me, I can always keep it straight (note: kitchener stitch is done with your yarn threaded through a darning needle and you work the darning needle among the stitches as if you were knitting or purling):

Set-up: (do 1 time):  FN (front needle) – Purl, leave on needle, BN (back needle) – Knit, leave on needle.

Repeat across toe:
FN-Knit, slip off needle, Purl, leave on needle.
BN-Purl, slip off needle, Knit, leave on needle.

When there are 2 stitches left (one on each needle) just pull them off the needles and weave the end of the yarn through the stitches on the inside of the sock.

Some of my little tips might not make sense if you’ve never made a sock before, but hopefully if you try a sock, they’ll become clear. If you have any questions, feel free to ask!   I love to knit socks — they’re the perfect portable project. If you have any interest in knitting at all, I hope you’ll try them!

XOXO,
Anna

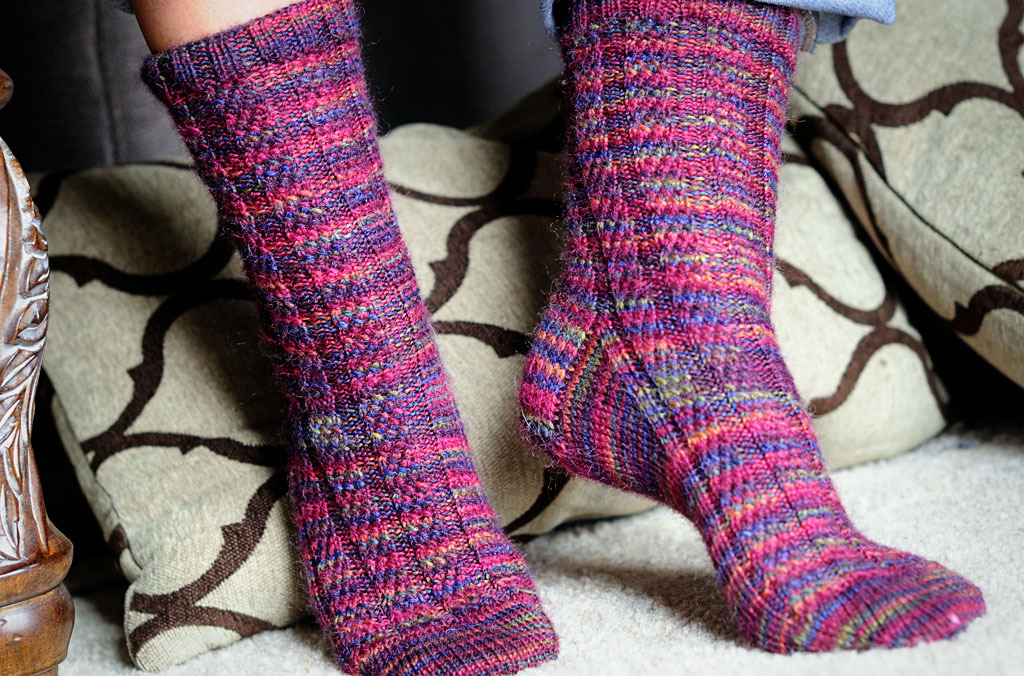
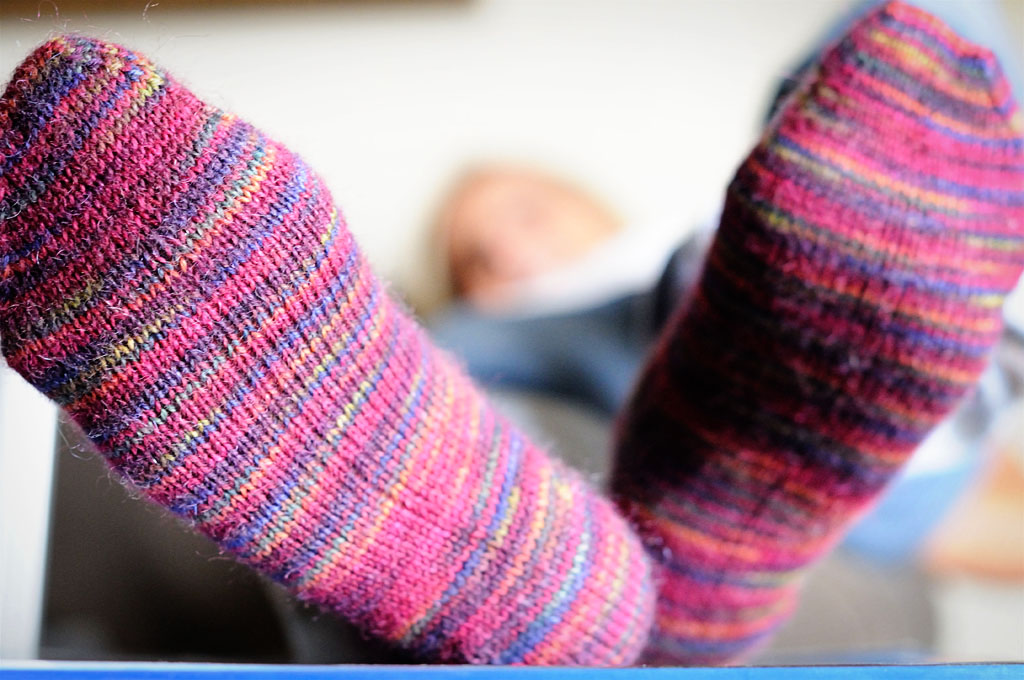
P.S. These socks are the Fascine Braid Sock pattern from Mountain Colors. The yarn is Mountain Colors in Wild Raspberry.  And special thanks to my SweetiePie model!

A Weekend Vanished

Ok.  Where’d the weekend go?  Did it whiz by as quickly for you as it did for me???  I meant to post sooner, but the weekend just got away from me.

I did get a lot done though.  Lots of sewing, and of course, being the time of year it is, I can’t show any of it here on the blog.  That’s one reason I enjoy the week between Christmas and New Year’s in blogland — everyone shows all the goodies they made for holiday gifts.  Anyway, other than sewing, I had a fun, quick trip with MeMum to pick up this quilt from the quilter.  (Binding will have to wait until after Christmas!)

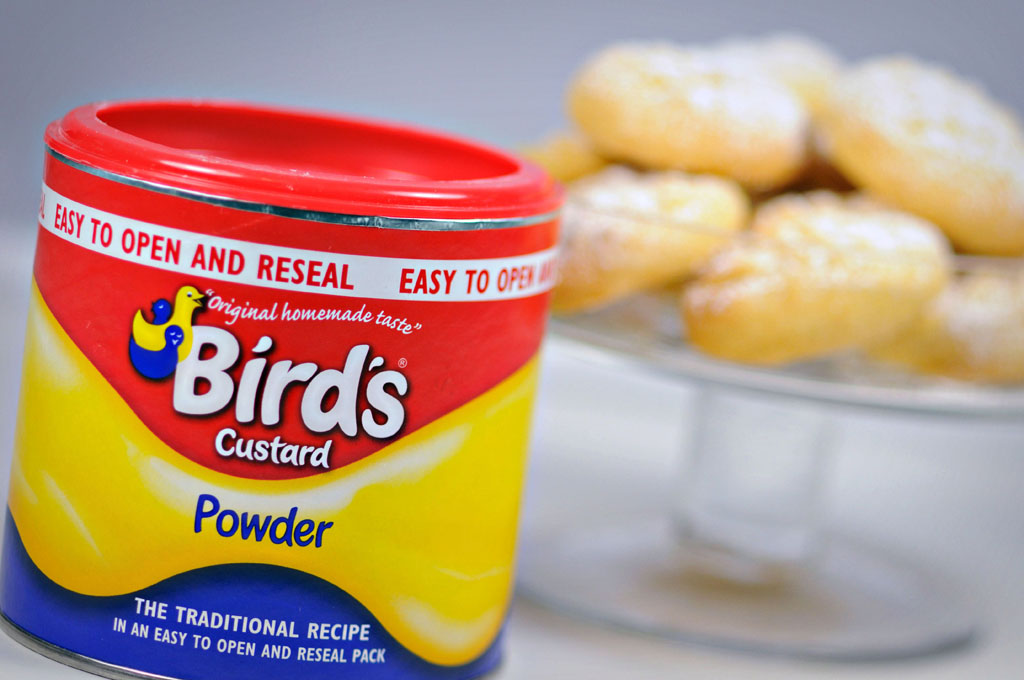
I also managed to bake a quick batch of cookies.  When we were in a grocery store in Scotland, I noticed (and bought) some custard powder because I don’t think we can get it here, and I remembered seeing some good recipes requiring custard powder around blogland.  Fortunately for me, Lisa posted about her little Custard Shortbreads just the other day and saved me a bunch of time searching through archives.

Custard Powder

OhMyGosh!  We LOVED them.   They’re quick to make and they were a HUGE hit with TheManoftheHouse who doesn’t really like sweets.  He loved them so much he’s making it his mission to figure out how we can get custard powder!    Lisa — thank you so much for posting the recipe!

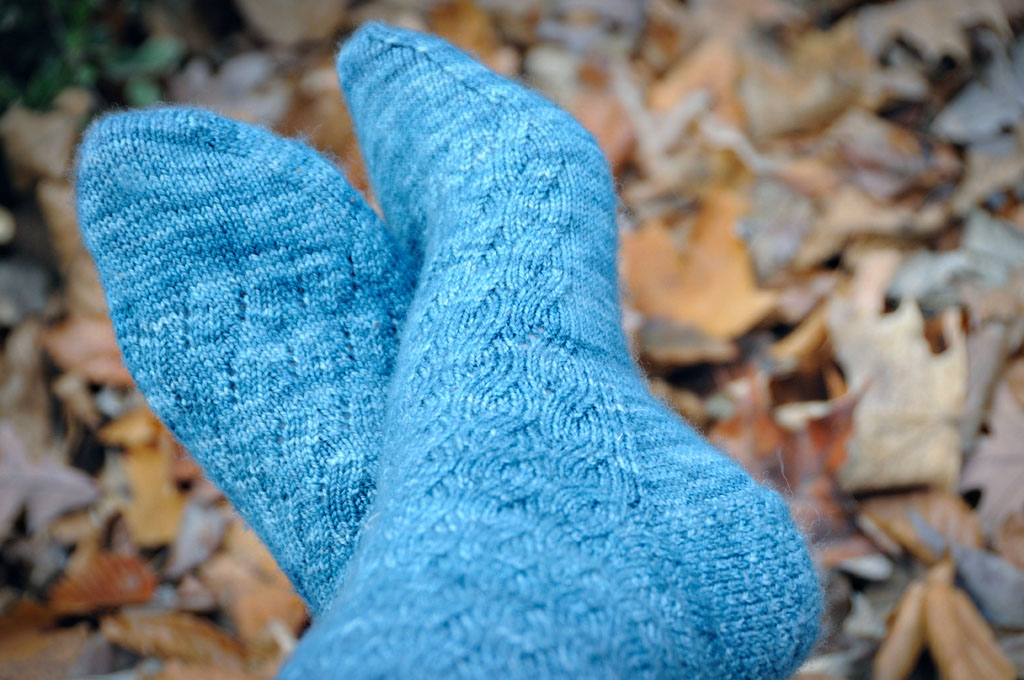
I also haven’t shown you my finished Mockery Socks (pattern here).

Mockery Socks

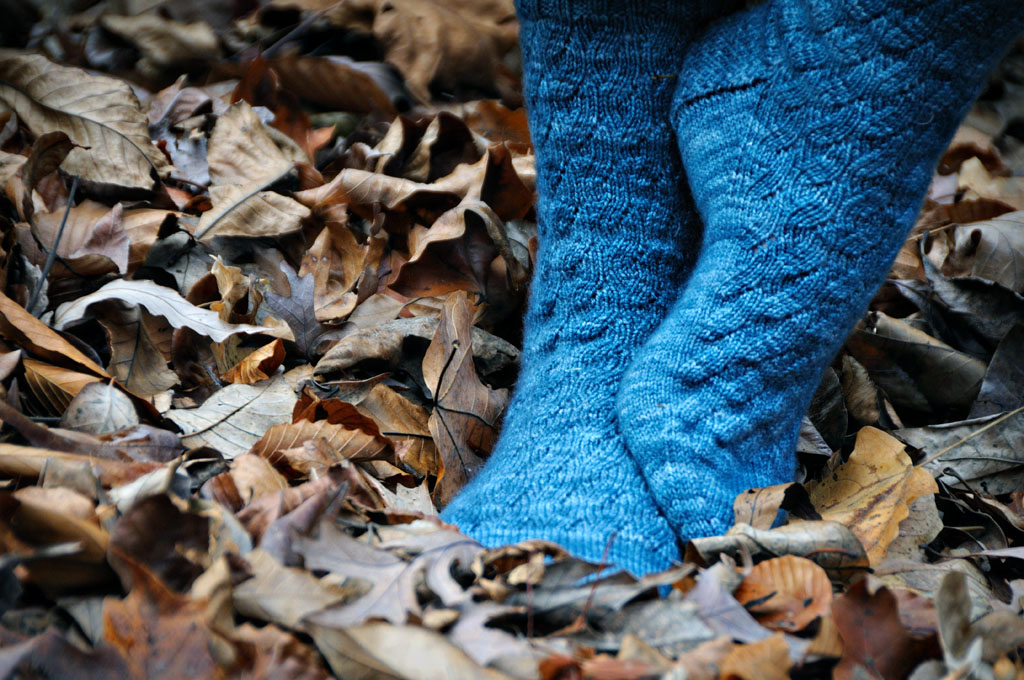
I finished knitting them on the flight to Scotland, and Sirius and I worked the kitchener magic to get them off the circular needle.  I love them.  They’ve already been worn and washed three times.  They’re SO warm!

Mockery Socks

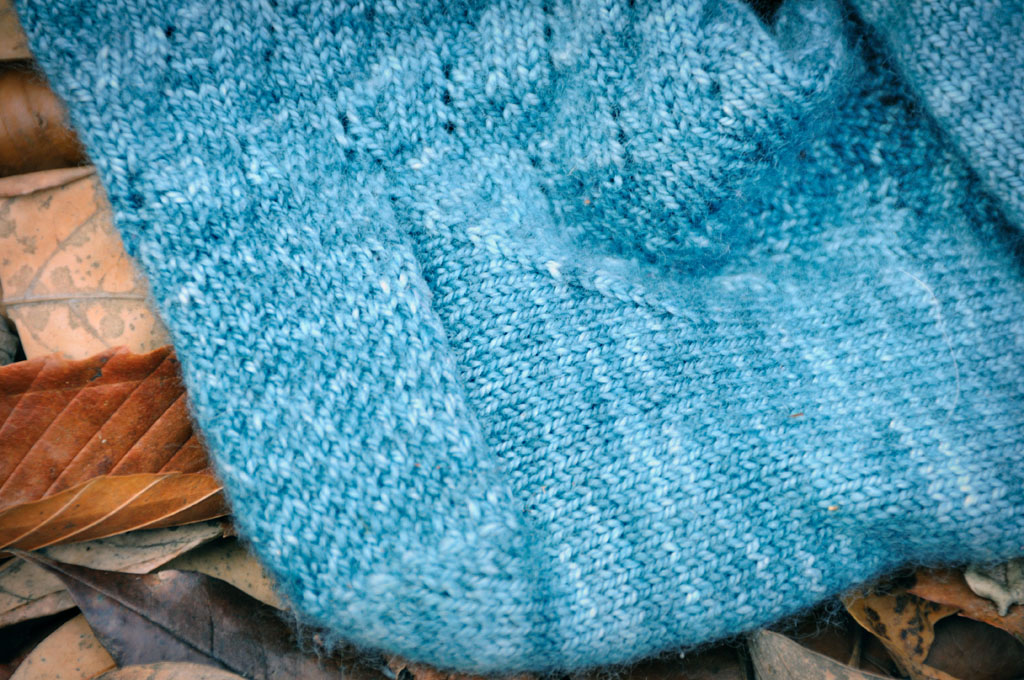
These socks also have a new to me heel pattern.  I think it’s a little different than the eye of the partridge pattern, but maybe they’re the same?  In either case, I’ve always just done a standard stockinette heel but this heel is very cool and I WILL be making it again.

Mockery Socks

I love this yarn too.  I wish I could remember what it is.  I bought it from Cami over a year ago and I’m just awful at keeping track of the ball bands — partly because it takes me so long to make a pair of socks and  those ball bands get lost.  Maybe Cami knows what it is — I’d sure like to know ’cause it’s awesome yarn.

Mockery Socks

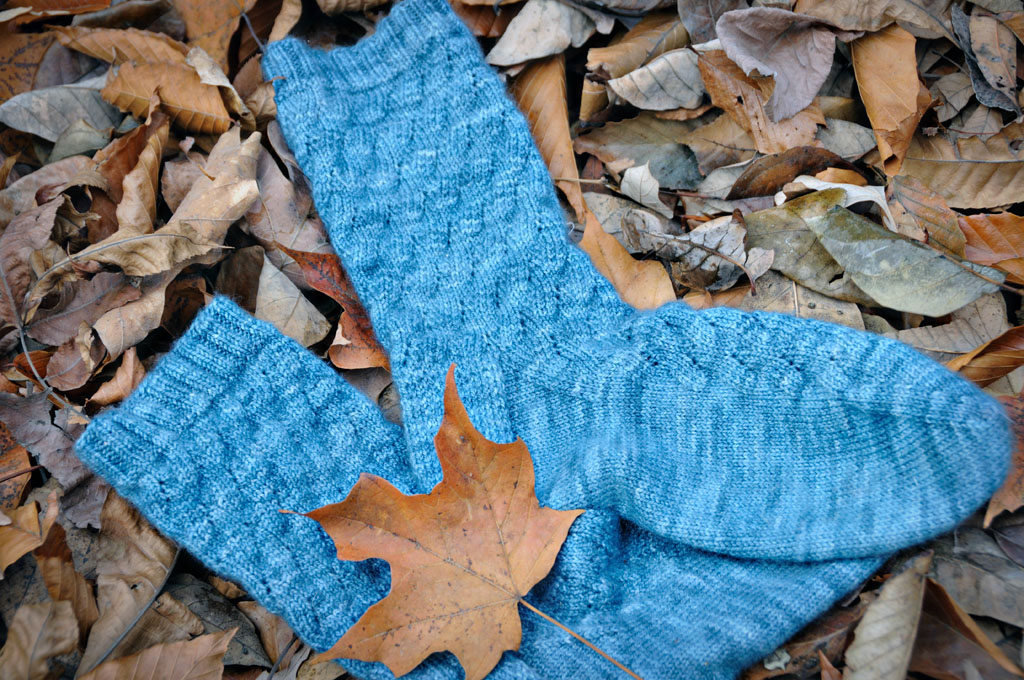
I think these will be my new favorite socks.  I took them off and laid them down in the leaves for one last picture.  Just as I was about to click the shutter, a little wisp of wind plopped that perfect maple leaf right onto my socks.  I love it when that happens!

XOXO,
Anna

A Finish and A Start

Whew! That pesto exercise was sure fun! Thanks for all of your great comments — you either love pesto or you don’t, huh? Several of you even left some great sounding recipes, so be sure and go read the pesto post comments if you’re a pesto lover.

Yipee! It’s the weekend. It will be very low-key here in Thimbleannaland. There are so many things that need to be done around here, so I’m just going to stick my head in the sand and do as little as possible. Maybe some reading, knitting and sewing. But very little cleaning (which is the most pressing need!) and cooking. Although, I do hope to finally try the No-Knead Bread recipe that everyone has been raving about. It looks yummy.

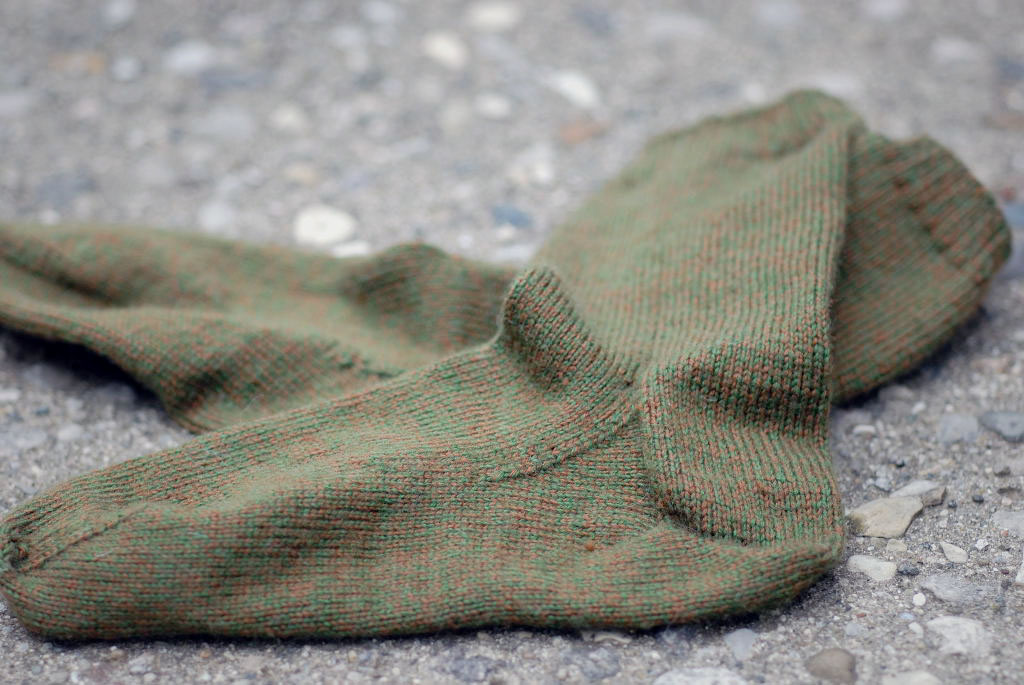
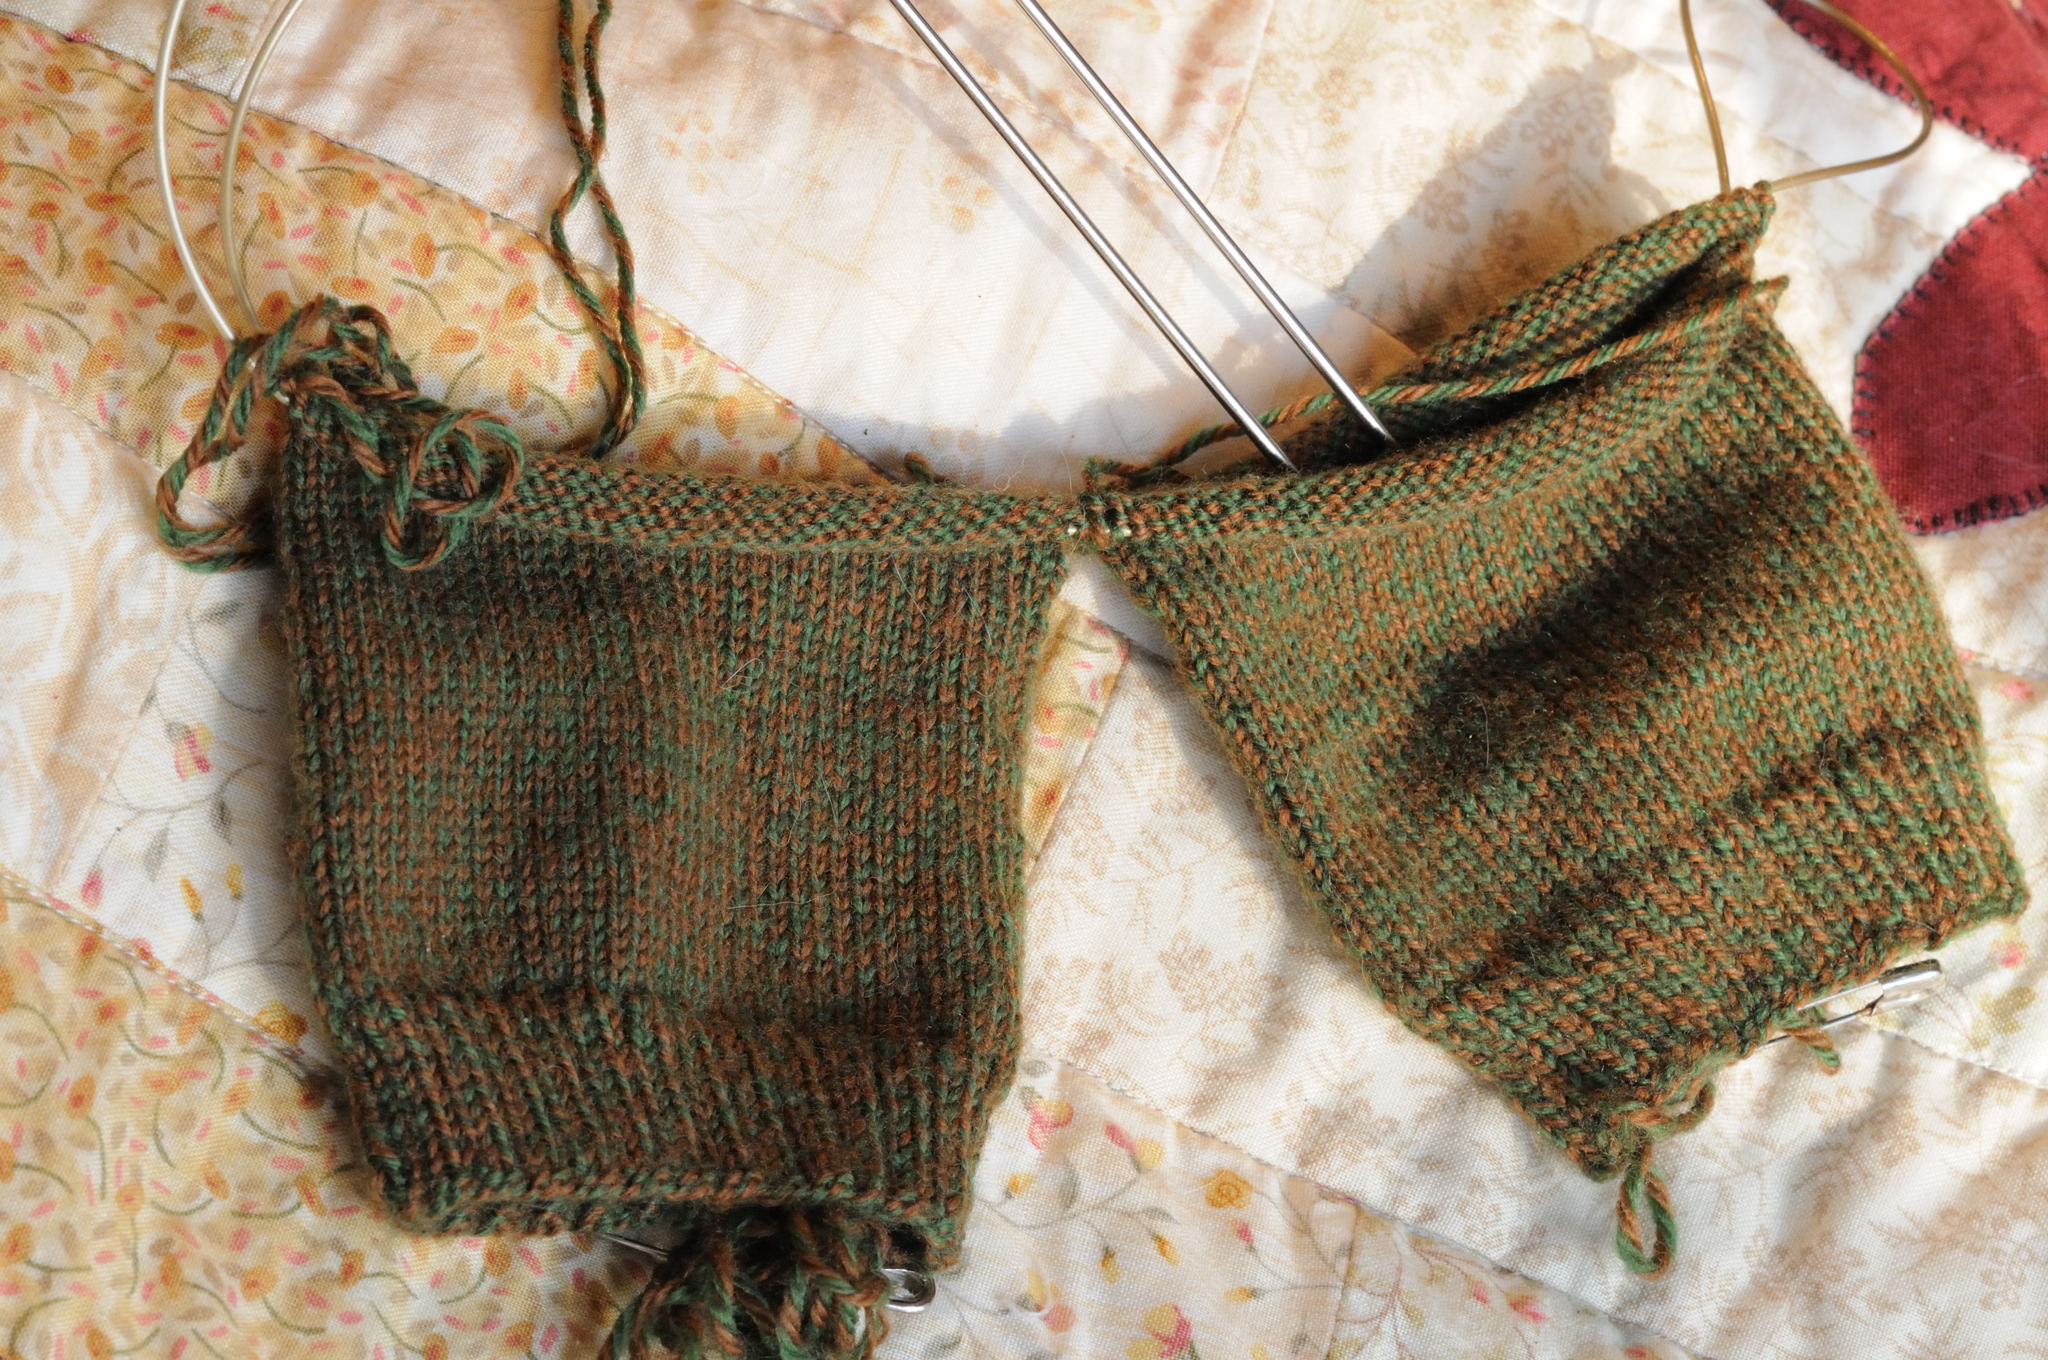
I did manage to finish my first-ever two socks on one circ socks this week. I thought they’d NEVER be done, so I’m happy that they’re finally finished.

Green Socks

I didn’t enjoy knitting on US size 0 needles one tiny little bit. I’m hoping never to have that experience again LOL. These were made from some Knitpicks yarn given to me by a dear friend. (Thanks Sweetie!) This yarn made for a nice, comfortable weight sock and it didn’t tangle or anything, but it’s not a real smooth, plush yarn with which to knit.

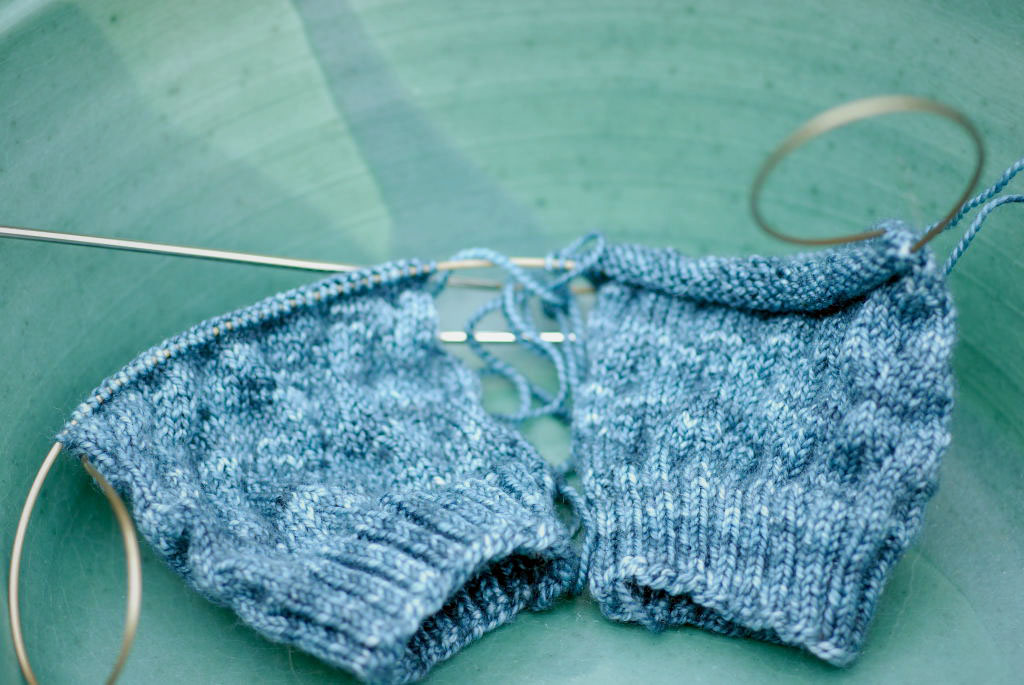
Bluegreen Socks

While I didn’t love knitting on size 0s, I did love knitting two socks on one circ. So when I was at Cami’s last week I bought a US size 1 needle. She was out of size 2s, which is what I wanted, but as it turns out, size 1s are perfect. I started these Mockery socks with yarn I bought at Cami’s last fall. I should probably call these my Cami Socks, especially since Cami is where I learned about mockery socks in the first place.

Bluegreen Socks

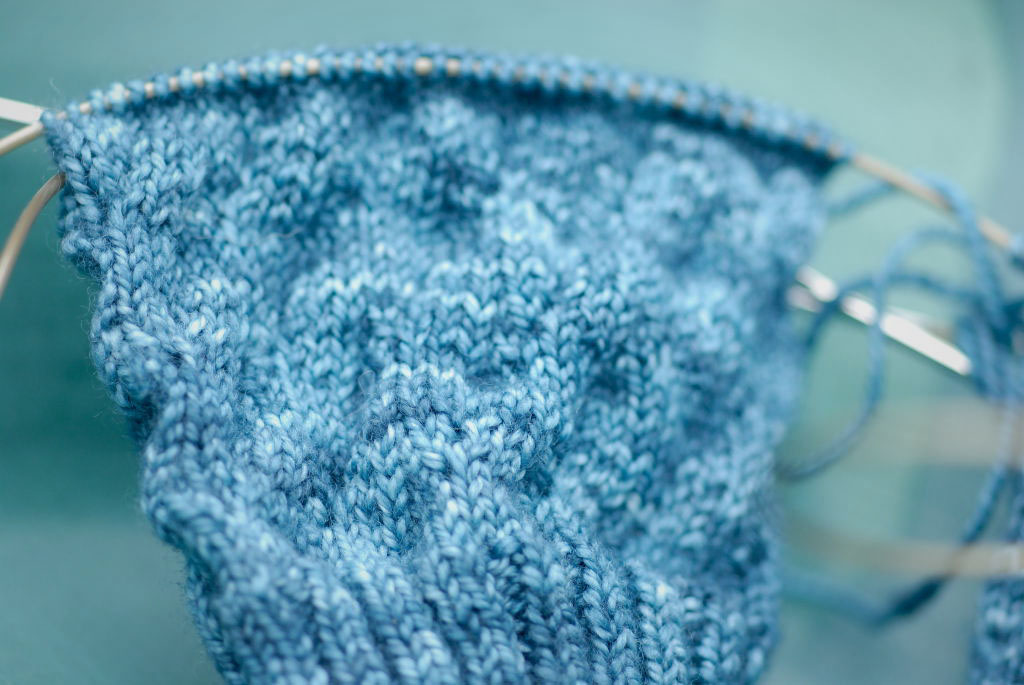
I’m having a great time knitting these. The yarn is heavenly and they seem to be going much faster on size 1 needles. I certainly wouldn’t have thought moving up only one size would make that much difference, but my progress seems to be much faster.

Bluegreen Socks

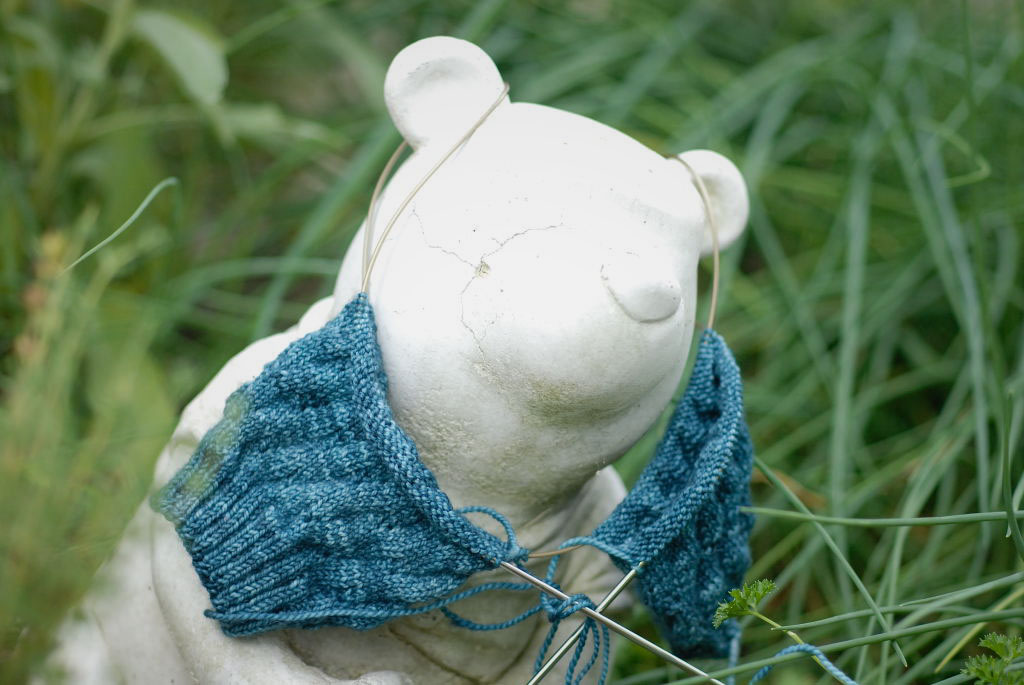
I thought I’d see how socks in progress look as earrings for Pooh Bear, but I see now that they should be modeled as ear muffs. Pooh would be so happy in winter and maybe they would keep his ears from cracking like his face has. Poor Pooh … I know how you feel. It comes with age.

Happy Weekend Everyone, cracked face or not!

XOXO,
Anna

Socks Anyone?

Gosh — you bloggy peeps are awesome! Thanks for all the cupcake cake love and birthday wishes for MyDadLovesMeBestSister! We had a fun family get-together and tried out a new local restaurant — Granite City. It’s a chain restaurant and they had a great Sunday brunch. I’m sure we’ll be going back.

When I flew home from New Jersey on Saturday morning, I plopped down in my seat and whipped out my knitting, in my usual oblivious-to-everything-around-me manner. Pretty soon, the “girl” next to me said “Oh, I brought mine too.” She was knitting a beautiful cashmere scarf. Pretty soon she said “Are you on Ravelry?” I laughed and said yes. (‘Cause I’m sort of on Ravelry — I get so caught up in blogs, I keep forgetting to go to Ravelry.) Then I said “Do you have a blog?” Nope. Darn it — but at least there’s Ravelry, LOL. (Anyway, Hi Liz!) It was really fun to sit and visit for the duration of the trip. Liz was working on a pretty complicated pattern so I had to try not to talk too much — I didn’t want to make her mess up! Here’s what I was working on:

Two Socks

Don’t look now Cami! I’m finally doing the two socks on one circular needle method that you swear by. Or two socks on one circ. Or magic loop. Or, I think I really like this method, but I’m not sure. No… come to think of it, I really like it. I was afraid I might have trouble adjusting to this new method, so I chose to do a simple stockinette pattern this time. I’m using a nice neutral knit picks yarn that my sweet quilty peep Jewels gave me ages ago. (Thanks Jewels!)

And thanks Cami for the encouragement in convincing me that I could do it. Cami also convinced me to switch from size US 2 needles to US 0. Man, it seems to be taking a lot longer (more stitches) but as Cami promised, the fabric is tighter, so in theory they should wear better.

Two Socks

I’ve noticed a few other knitters out there wondering about the magic loop, so I thought I’d share my thoughts so far on this method (I’m only about 1/2 way down the cuffs):

Pros:

  • Two socks at once! You won’t have second sock syndrome.
  • I’ve always struggled trying to make sure that the cuff on my second sock was exactly the same length as the cuff on the first sock by counting rows. With this method you don’t have that problem anymore, as you’re knitting both cuffs at the same time.
  • No more dpn’s to drop or stab myself with.

Cons:

  • Two socks at once LOL!  It feels like progress is slo-o-o-w.
  • Getting these socks started is a pain in the … arsenal. I really struggled for those first two rows, just to keep the needles from pulling apart.
  • It seems that a fair amount of time is wasted shifting the needle cable around. It’s a necessary evil.

Surprises:

  • I’m amazed that the join between the two needles doesn’t leave big ladders all the way down the sock. But it doesn’t. Magic!
  • You have to work with a separate skein of yarn for each sock. I’ve been very pleasantly surprised that those yarns don’t get really tangled up — I thought for sure that would be a hazard of this method. Another pleasant surprise.
Two Socks

So, if you’re a sock knitter and you’ve been on the fence about trying this method, give it a go — it’s pretty fun!  And if you need help, stop in at Clementine’s — Cami is awesome and I know she’d gladly lead another sheep off the cliff!
Before I scamper off to bed, I have to show you what loveliness arrived in my mailbox this week:

Lisa Apron

I won a blog drawing from Lisa at Colors Outside the Lines!  Look at all the fun stuff!  One of her fabulous aprons in beautiful blue vintage-y flowers and stripes.  I’ve admired Lisa’s aprons from afar for a long time — I just love how she attaches a towel to the apron.  I’m always searching for a towel, and therefore wiping my hands on my apron, when I’m cooking.  This is the coolest idea and it’s detachable with buttons. And another cool thing — look how Lisa has used the fringing from the other end of the towel as trim on the pocket!  Too, too cute!  I’m just noticing that this picture is a bit misleading — somehow, the folds of the apron don’t really show that every other panel is made of the striped fabric.  You can kind of see it if you really look — the panels are of equal width across the apron, alternating between flowers and stripes.  It’s a very full apron and will provide great protection!

Lisa also thoughtfully included one of her famous shopping bags (to match the apron!), an adorable little fabric covered notepad (tucked into the apron pocket) that will be perfect for my purse (I’m a note taker!), and a fabulous doily — look at all those cute little flowers around it!

Lisa Tag

And I had to do a close-up — look at Lisa’s cool tags!  Very, very clever!  Thank you SO much Lisa — I love it all and I’m feeling so very lucky to have won your giveaway!!!

Now…nighty, night all you bloggy peeps and sweet dreams!

XOXO,
Anna

There’s a Monkey on My …. Foot

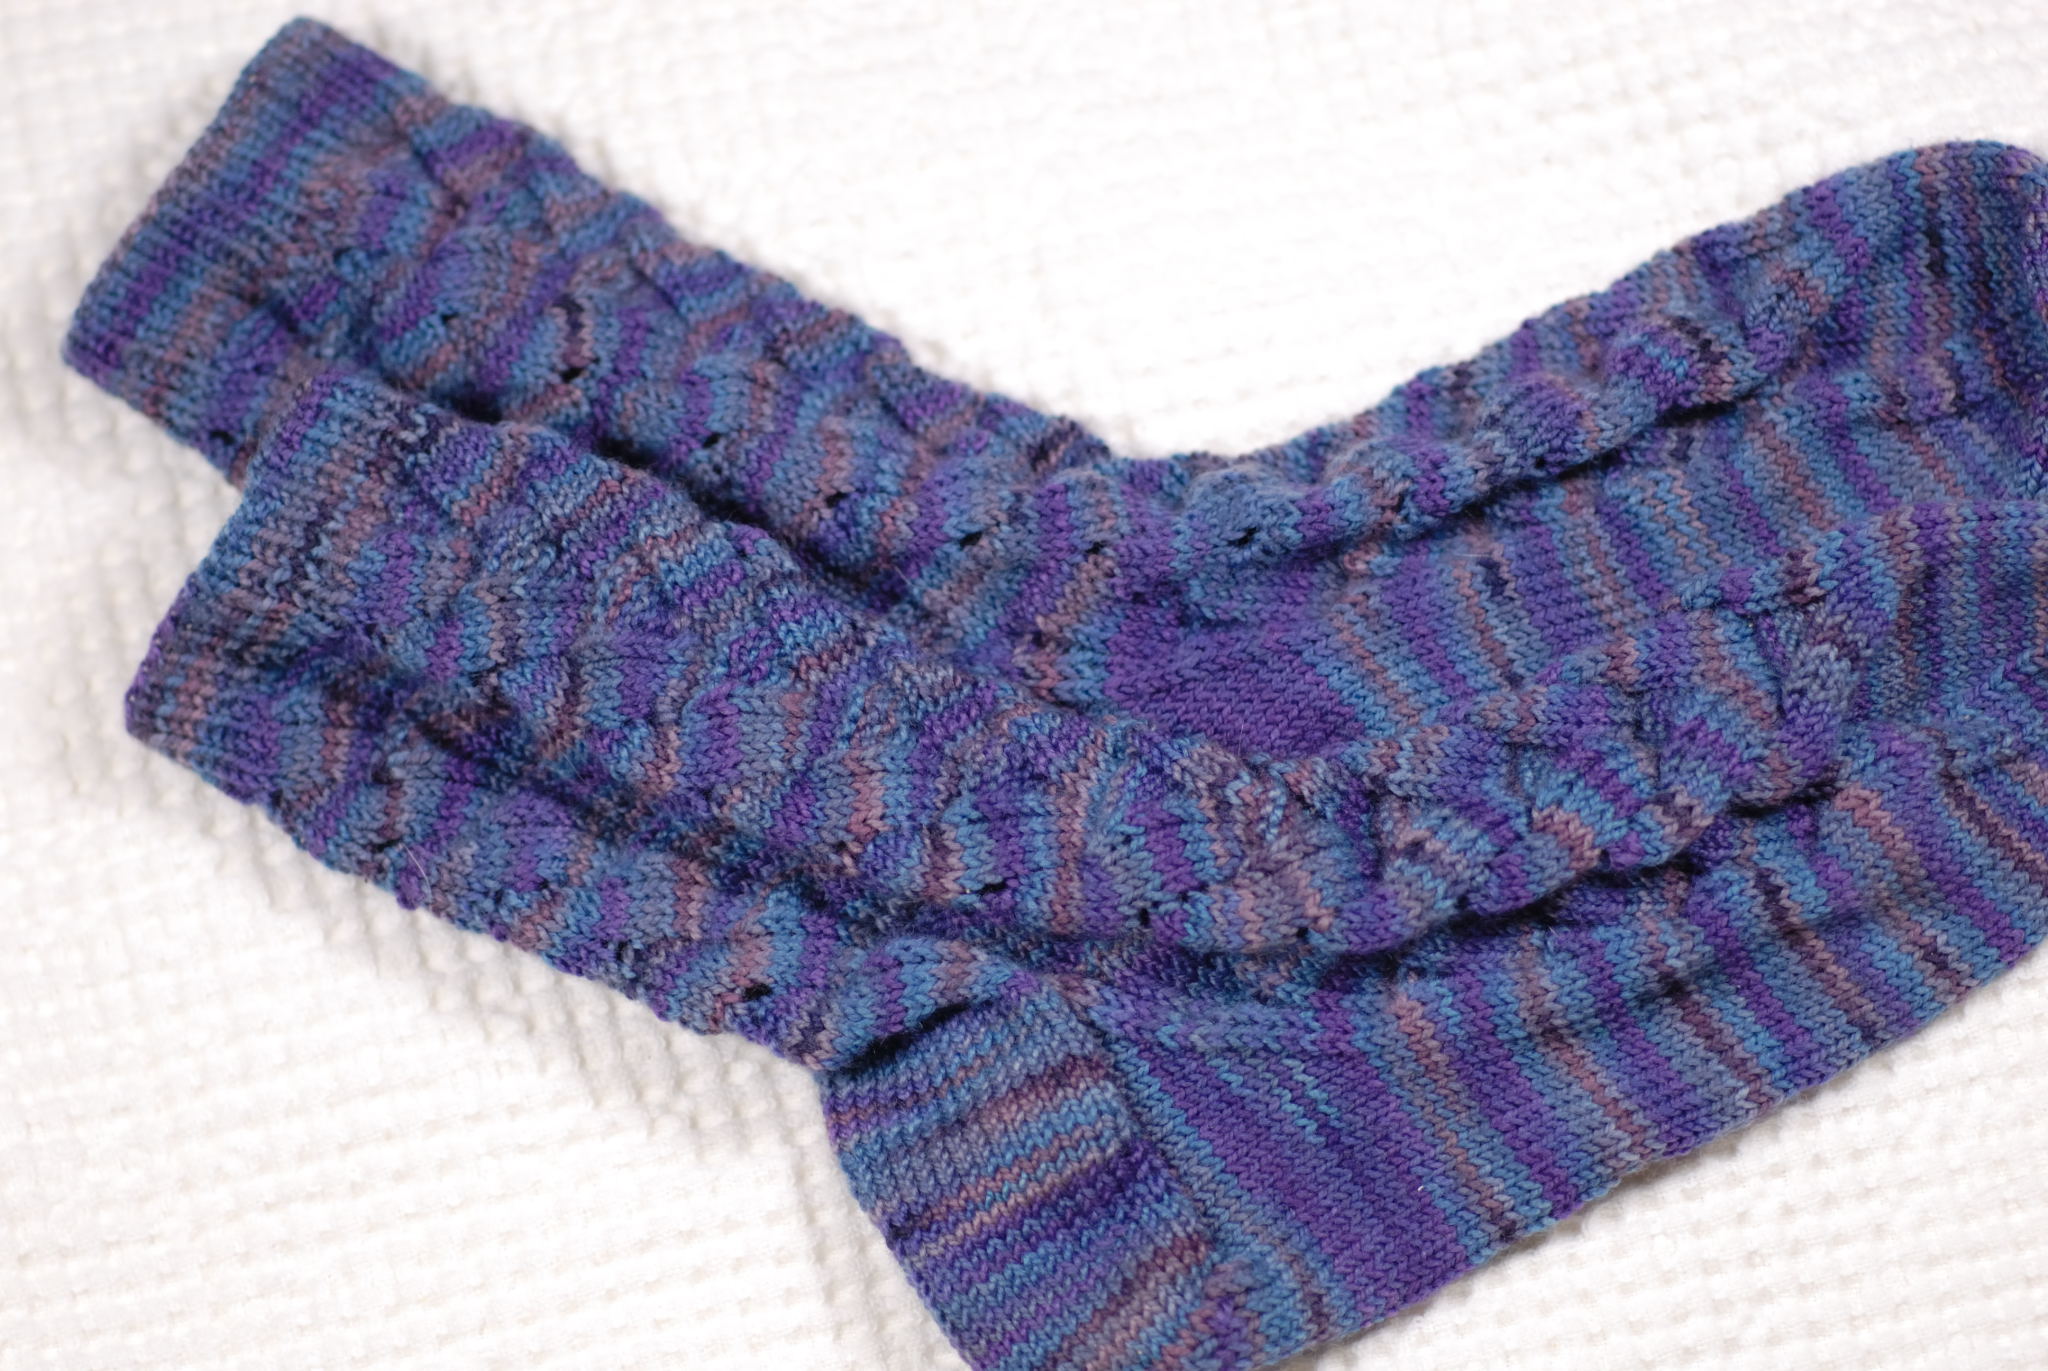
I finally, finally, FINALLY got my first pair of monkey socks done.  WooHoo!!!  They seemed to take forever to finish — probably because I was so hit-and-miss when I worked on them — only once or twice a month.  How pathetic!

Monkey Socks

It really took me a long time to get used to the pattern.  I read on Ravelry where someone said that by the time you did the 11-row repeat two or three times, you’d have the pattern all figured out.  At my remedial pace, it took me until the last half of the second sock to really “feel” the pattern.  Up until that point, I found them to be a pain in the behind — mostly because I would mess them up terribly while talking to someone and have to rip back several rows.

All along, I thought I wouldn’t make this pattern again, but now that I’ve had my lightbulb moment, I’ll definitely try them again.  Plus, I really like the appearance of these socks and they’re pretty cozy.

Monkey Socks

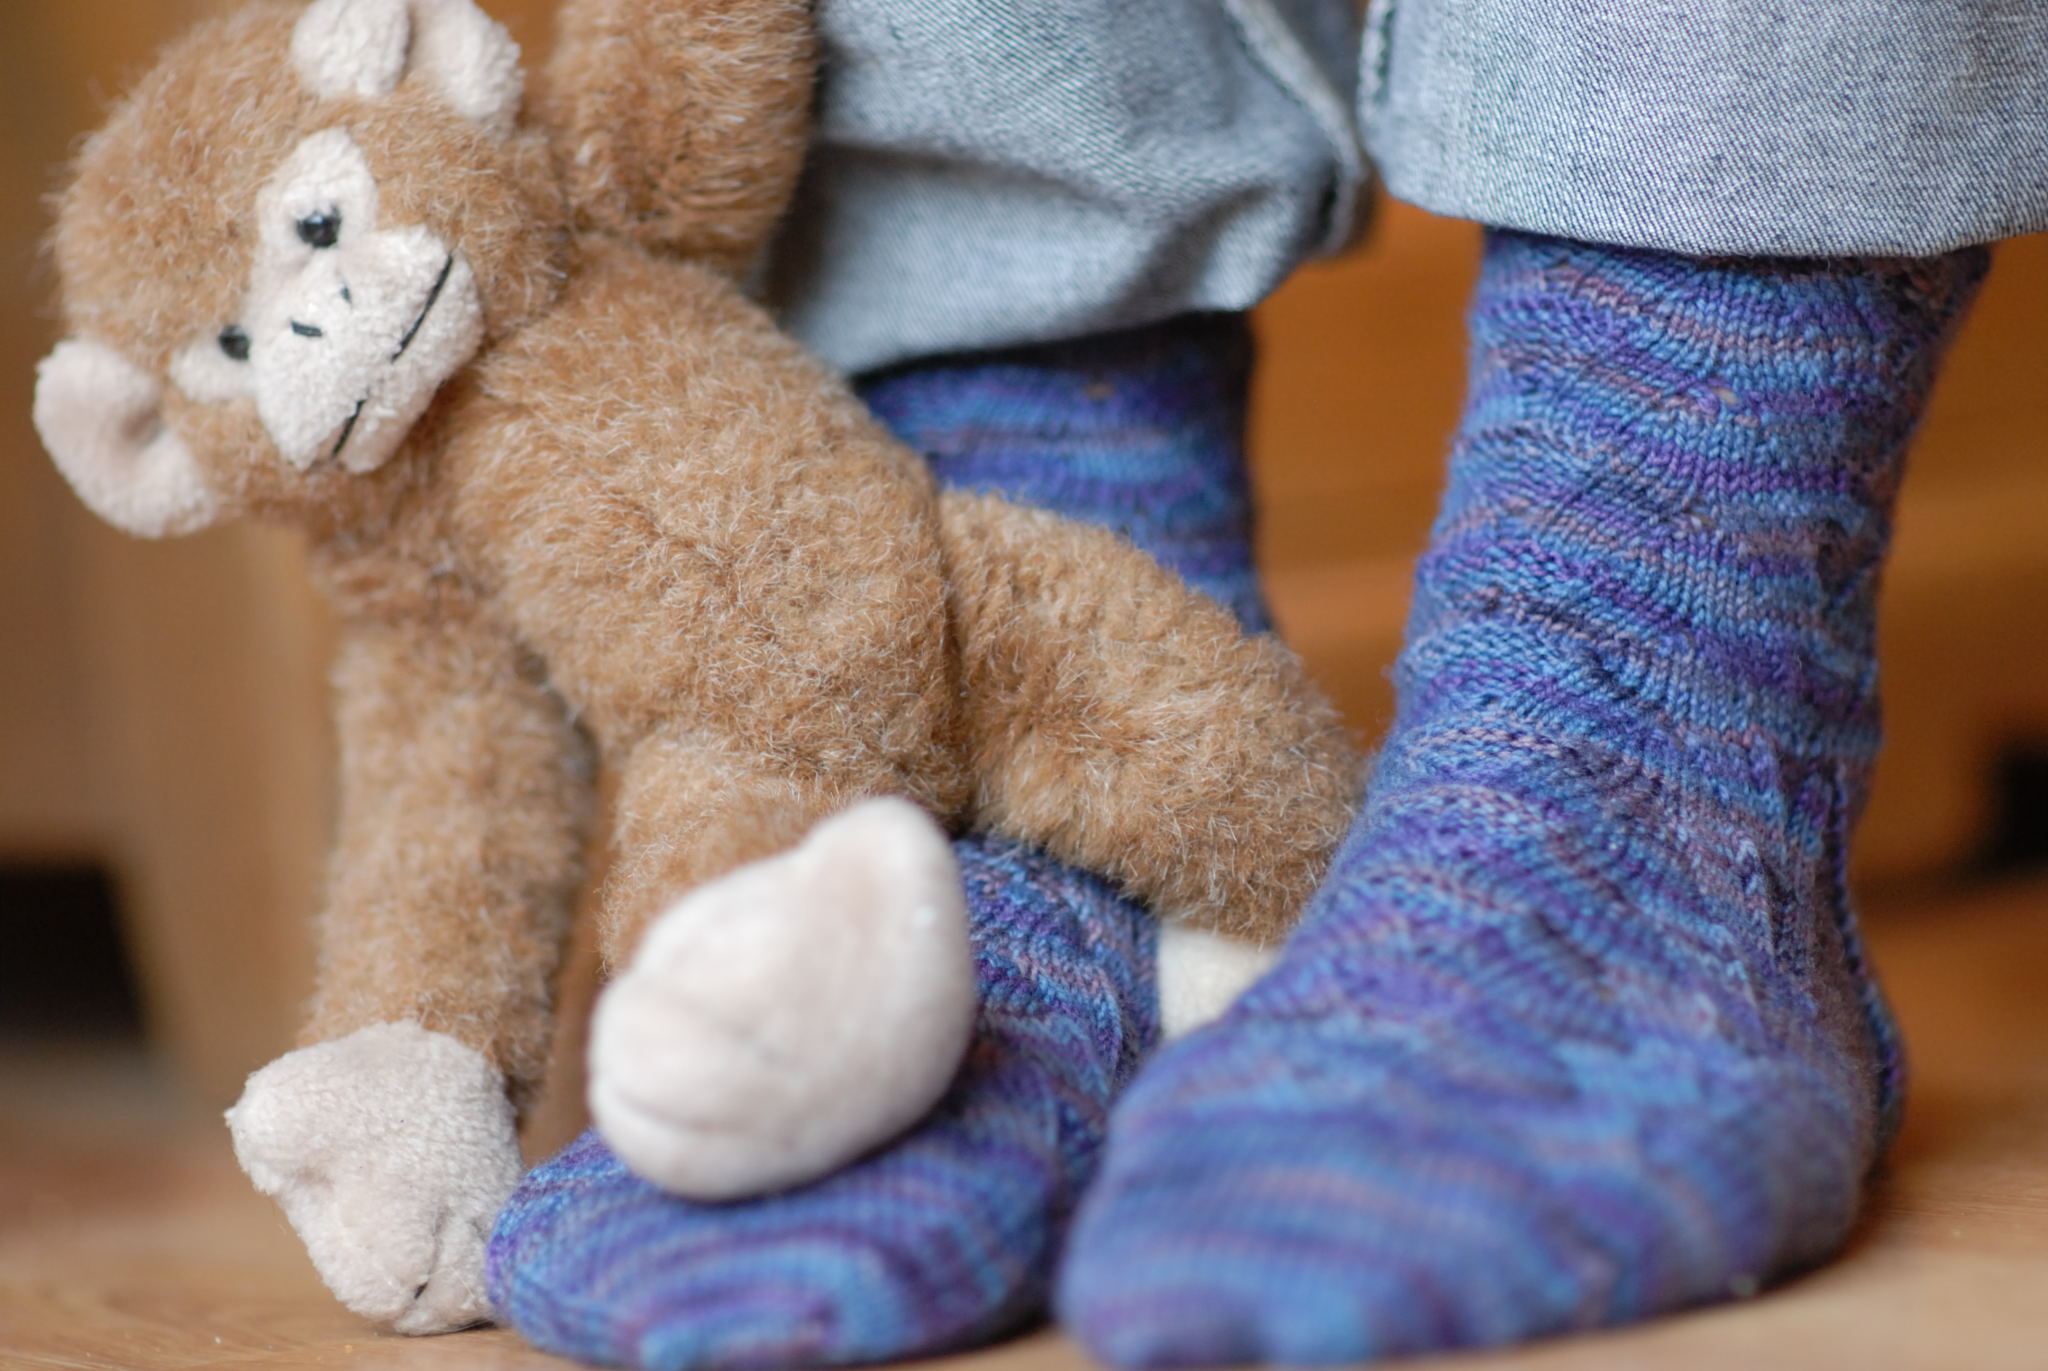
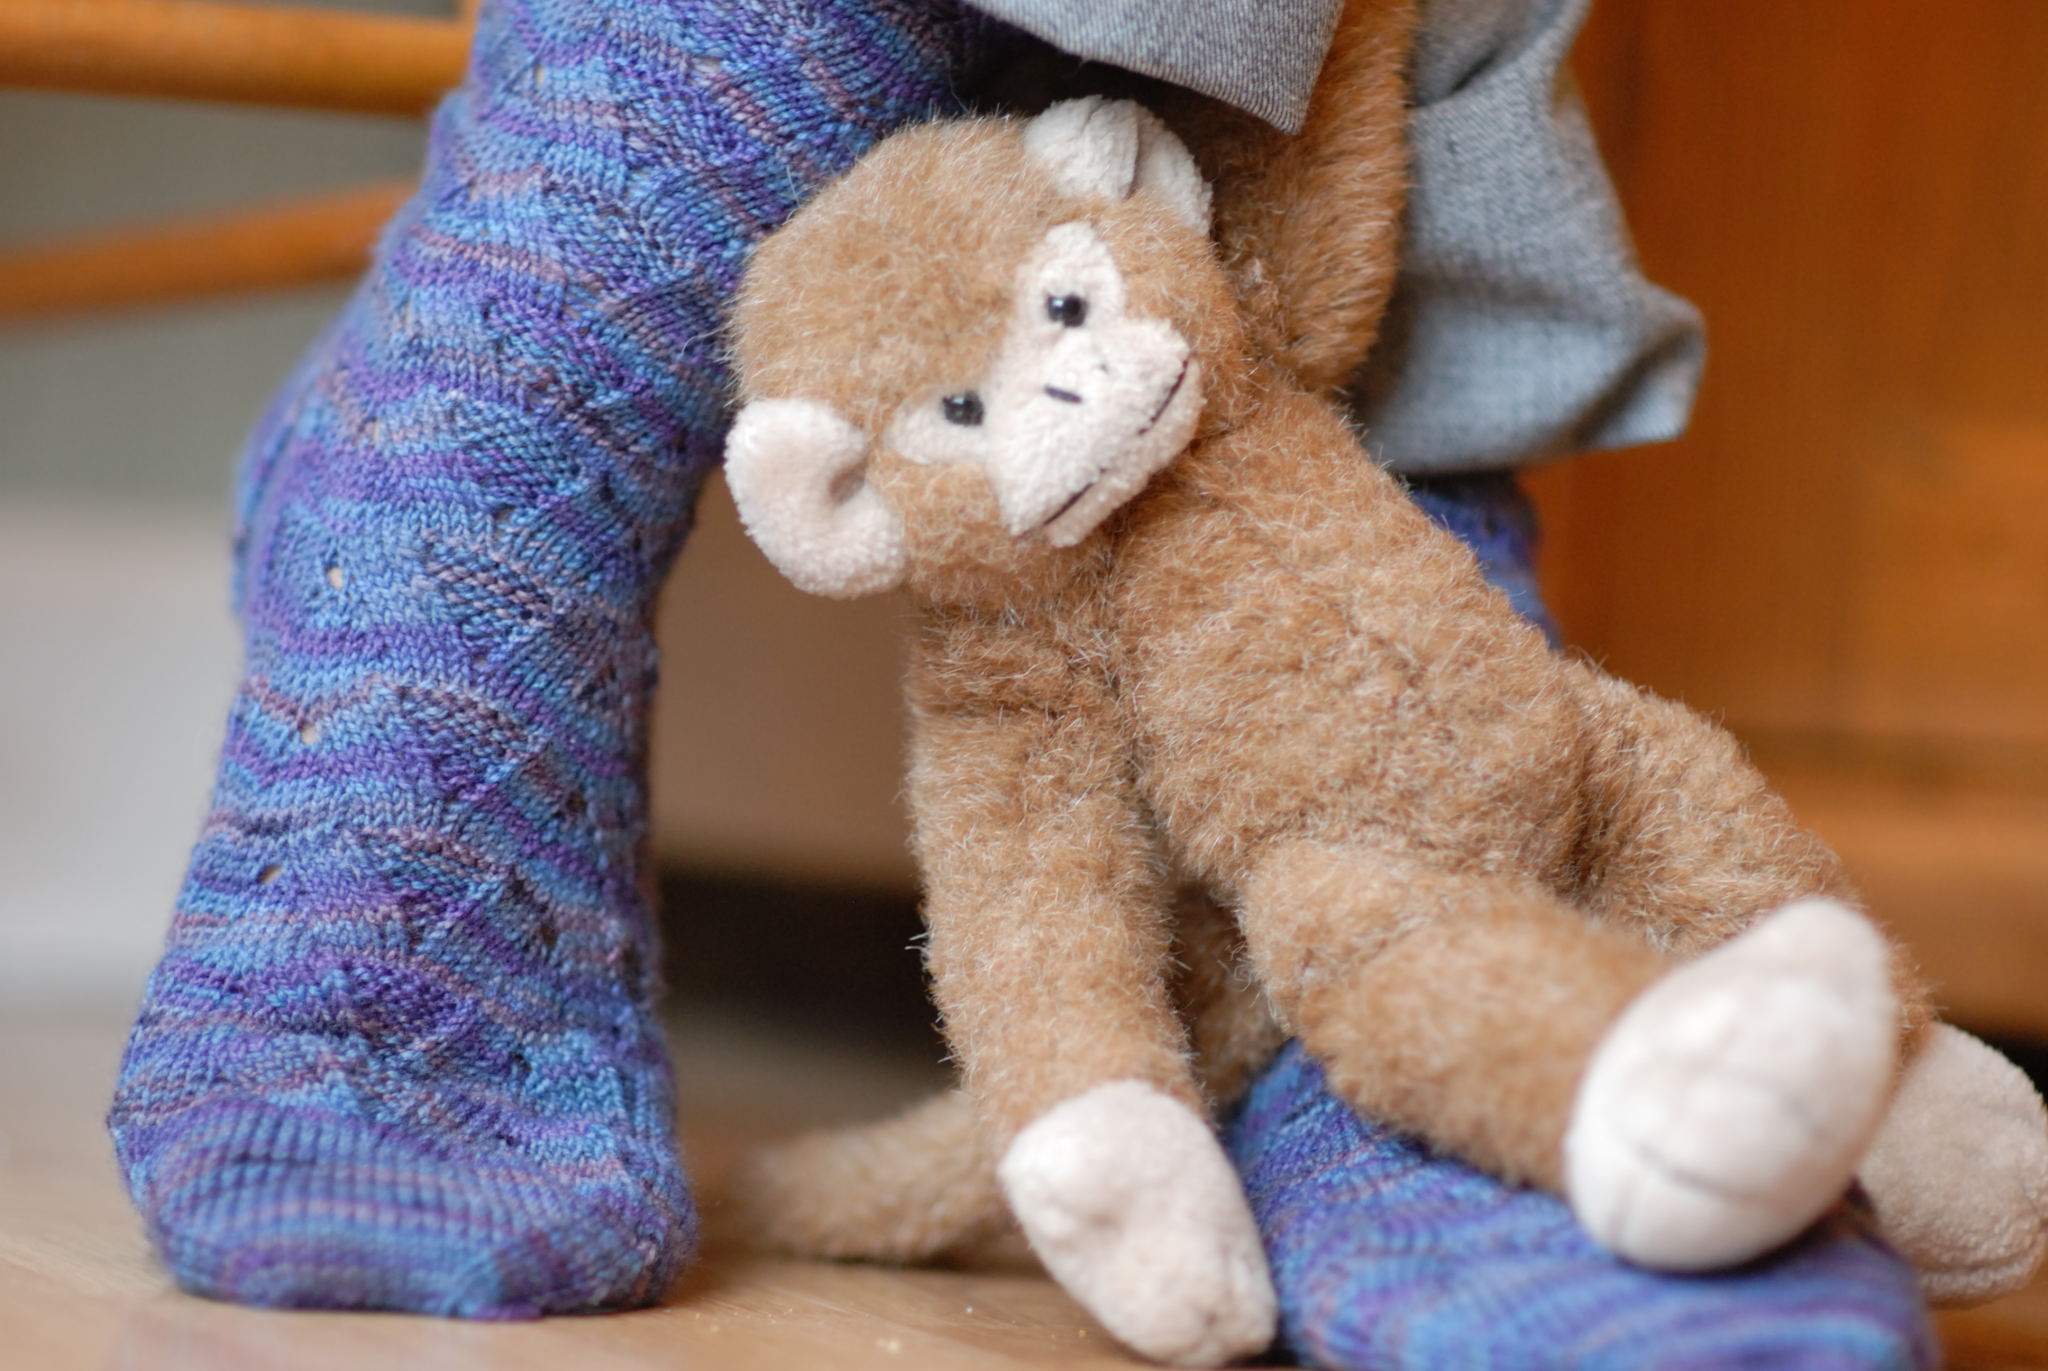
There does seem to be one drawback though.  When my trusty model SweetiePie put them on, this monkey came screaming around the corner and grabbed her pant leg.  And he wouldn’t let go.  I was just glad his sister monkey didn’t put in an appearance — she’s lurking around here somewhere.  (I think maybe TheEmptyNestChild absconded with her some time ago — you know his affinity for all things stuffed.)

Monkey Socks

SweetiePie tried to get him to let go by crossing her feet, but he was having none of it.  He finally let go and ran off when he spied TheEmptyNestChild lurking across the room.  It was such a relief to get that monkey off her … foot.

I hope you’re all enjoying your week and that SOMEone SOMEwhere is having a taste of spring, because it’s clearly still winter here!

XOXO,
Anna

P.S.  My monkeys are made from Cherry Tree Hill Supersock Yarn (which is just yummy!) on size 2 dpns with this wonderful pattern.