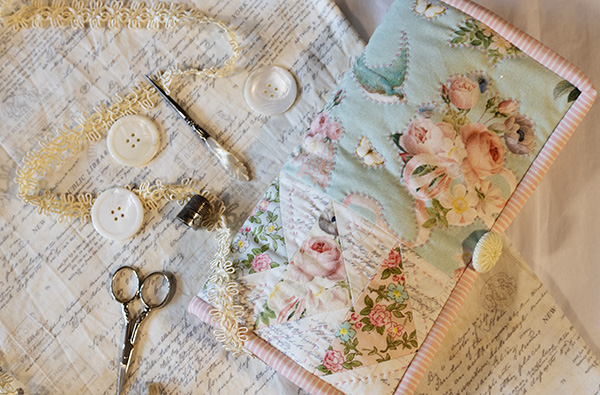
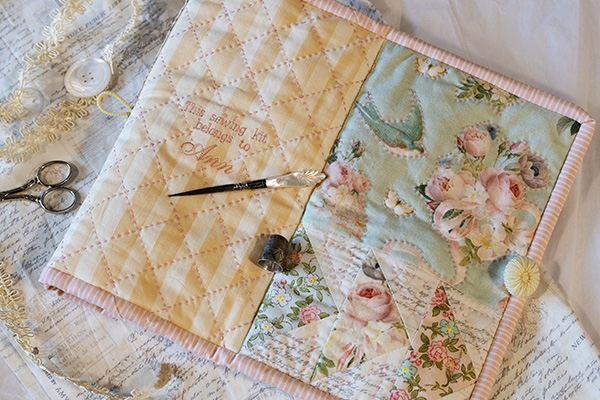
A great sewing kit has all the pieces you need in one handy, portable package. You can buy sewing kits online, but they’re generally rather sterile and, well, ugly. Why not make one of your own? They’re not that difficult to make and you can choose some really beautiful fabrics that appeal to you. I have one of these sewing kits (you can see the Emma & Myrtle kit that I use almost every day HERE) and it’s made all of my project sewing so much easier. I have all of my tools in one handy location and I never have to go in search of a needle, thimble, scissors, etc. (The only problem I have is that beautiful new fabrics come out every day and I want to get rid of my kit and make a new one ;-D ).
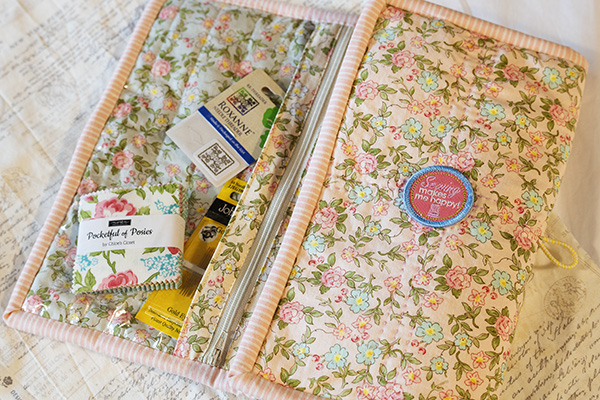
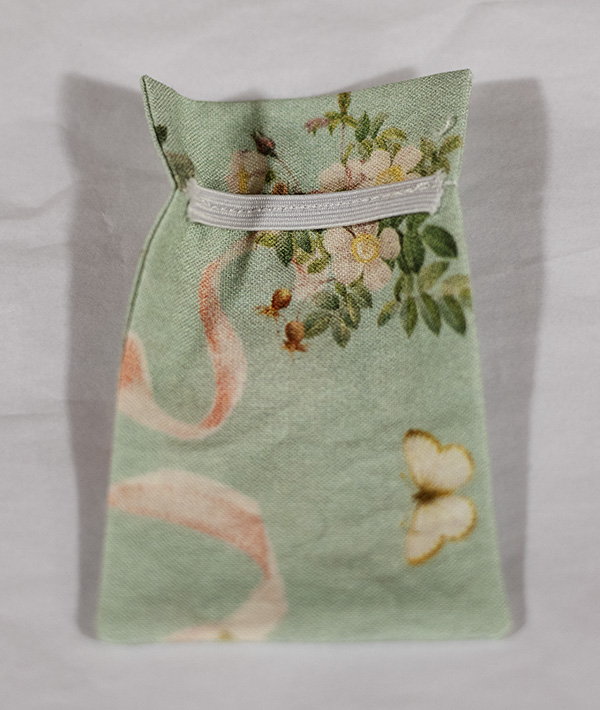
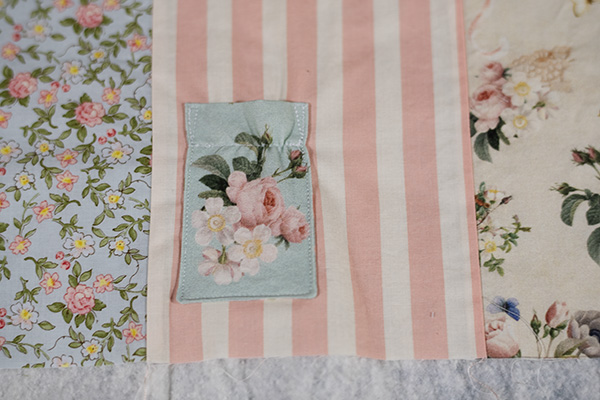
This sewing kit is a tri-fold model and the beauty of making your own is that you can customize it to contain the supplies that you use the most often. For a little overview, before you get started, here is what my version of the kit looks like when the first side is opened:
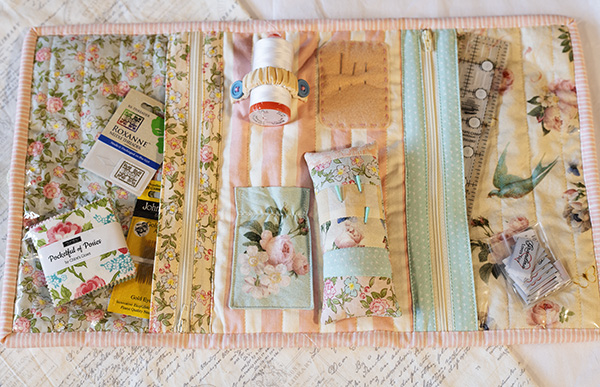
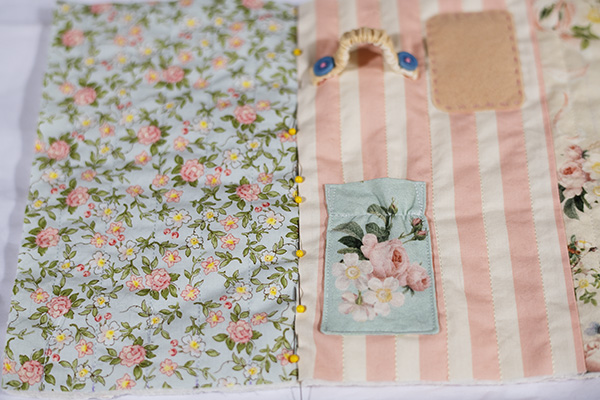
And then, when fully opened:
Because this sewing kit is fully customizable, these instructions will be fairly basic — YOU are the designer! You’ll have to fill in some steps based on how you want to complete your project. You should definitely search for sewing kit ideas on pinterest — there are lots of different combinations of features. I LOVE having see-through pouches on both sides of my sewing kit – for one thing, I live in fear of things falling out of my kit and for another, you can stuff lots more into your kit with pouches on both sides ;-D.
So, to make your own sewing kit, here’s loosely what you will need, depending on the options you choose:
- A variety of fabrics for the body of your kit. If you have a fabric stash, you should easily be able to make the kit from fabrics you already have. The kit shown in these pictures is for a gift and I’ve used the beautiful Rose & Violet’s Garden fabrics by Miss Rose Sister Violet.
- Two pieces of batting or fleece that are roughly 20″ x 12″.
- Two pieces of clear vinyl that are roughly 7″ x 12″.
- Two zippers at least 12″ long.
- For a pincushion: pincushion stuffing (I use ground walnut shells).
- For a needle holder: a small, scrap piece of felt to match your fabrics.
- For a spool of thread holder: a 2 1/2″ piece of 1/2″ wide elastic.
- For a scissors pocket: a 1 3/4″ piece of 1/4″ wide elastic.
- A button and ponytail holder or leather ties, depending on the kind of closure you want for your kit.
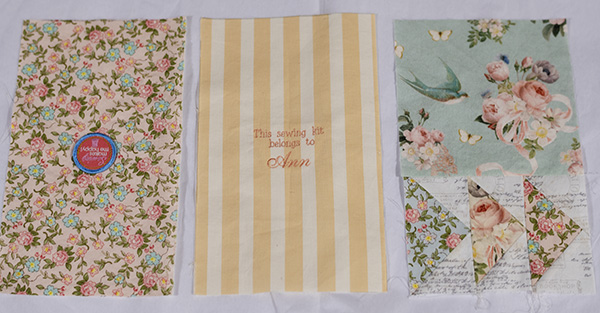
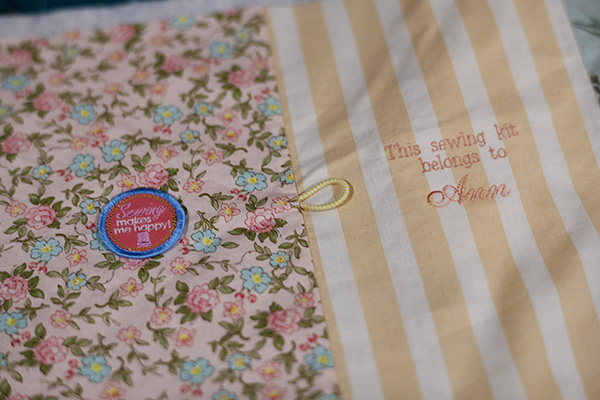
The rough measurement of the finished sewing kit, when closed is 6″ x 10″. The kit is made by constructing an outside panel and an inside panel and then sandwiching them together. Let’s start with the outside panel. The panels consist of three pieces and the picture below shows them side-by-side before they’re sewn together. Constructing these panels is where you can have so much fun piecing and embellishing your fabrics. Just keep in mind, when the sewing kit is closed, the piece on the right will be the front of the kit, the piece in the middle will be the back of the kit, and the piece on the left will be the flap that folds into the middle of the kit. After you’re done with all your piecing and embellishing, the middle and right pieces should be cut to 6 1/2″ x 10 1/2″ each. Because the piece on the left will be folded inside the kit, we want it to be slightly narrower, so that piece should be cut to 6″ x 10 1/2″.
Piece the three panels together, using a 1/4″ seam, and press the pieces open (note, I didn’t say press your seams open — I like to press both seams to one side). If you’re going to use a button and loop closure, don’t forget to sew the pony tail holder into the seam that joins the left and center pieces. I didn’t take pictures of the next steps, but, once your outside piece is nicely pressed, center it on top of a 20″ x 12″ piece of batting. Then you can hand or machine quilt however you would like to enhance your design. The outside of your kit is now done — set it aside. (Note: Don’t panic that the batting and the vinyl pouch tops are bigger than the inside and outside panels — I like them to be a bit bigger while we’re working and then we can trim them up later.)
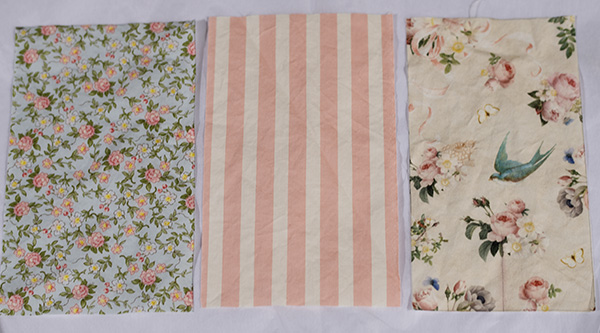
Now it’s time to construct the inside of your kit. Here are the three pieces I used for my kit. For the outside panel, I did a lot of the embellishing before the three pieces of the panel were sewn together. For this inside panel, I sewed the three pieces together first, and then embellished. Also, because this is the inside, the dimensions of the pieces are reversed, and the smaller piece will now be on the right. So, cut the left and middle pieces to 6 1/2″ x 10 1/2″ each and the right piece should be cut to 6″ x 10 1/2″. Sew them together with 1/4″ seams and press it all nice and flat and then center the panel on top of a 20″ x 12″ piece of batting.
Now you have to choose which options you want to include in your sewing kit. Here’s how I did a few of the options that I included in this kit:
The vinyl side pouches: For each pouch, cut three fabric strips 11″ x 1 1/4″. Then, because I was too lazy to take pictures and write out all the instructions again, I’m going to refer you to the instructions for the vinyl project pouch HERE. Follow those instructions for the vinyl side of the zipper, which will use two of the three strips you just cut. For the other side of the zipper, take the remaining 11″ x 1 1/4″ fabric strip and press one long side under 1/4″. Then sew the right side of the fabric to the right side of the non-vinyl side of the zipper with a 1/4″ seam. You now have the top of one vinyl pouch. Set it aside and make the other vinyl pouch top in the same manner and set it aside too.
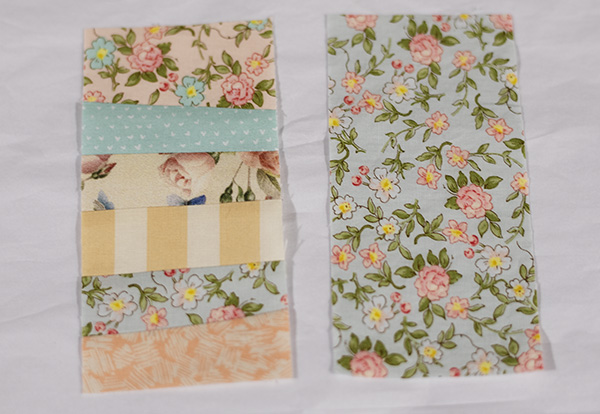
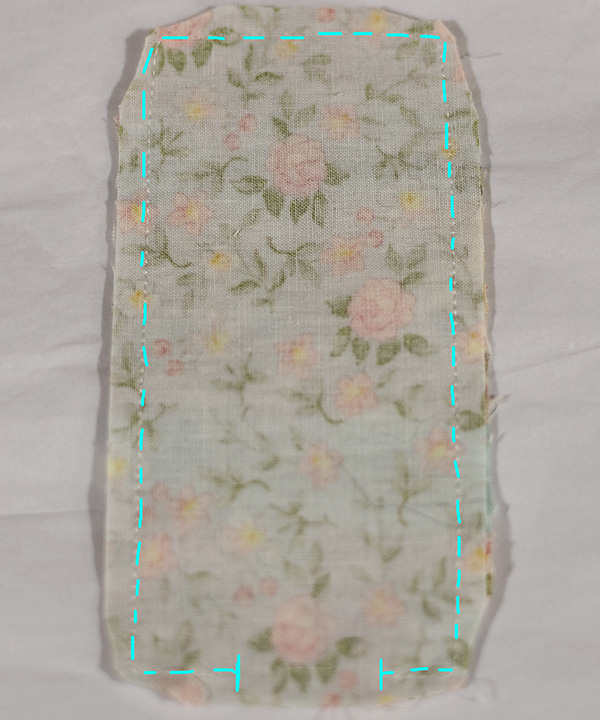
The pincushion: For the top of the pincushion, you can piece fabric scraps together or just use a solid piece of fabric. Either way, you need two pieces of fabric, a top and a bottom, measuring 3″ x 6″.
Place the pieces right sides together and stitch 1/4″ around all the edges, leaving an opening for stuffing. Trim and turn right side out and fill the pincushion with stuffing or crushed walnut shells. (If you haven’t tried crushed walnut shells, you must! They are SOOO much better than stuffing!) Hand stitch the opening of the pincushion closed and set aside.
The needle holder: This one is SO simple ;-D. Cut a rectangle of felt to fit the space you want to use and then hand or machine stitch it wherever you want on the inside panel. For a little extra heft, you could add a slightly smaller piece of felt behind the top piece.
The spool of thread holder: Cut a piece of fabric 5 1/2″ x 1 3/4″. Fold fabric right sides together length-wise and stitch a 1/4″ seam along the long edge. Turn the tube of fabric. Place a safety pin on one end of the elastic and feed it through the tube of fabric. Gather the fabric along the elastic. The fabric should hang over 1/4″ on each end of the elastic. Fold each end under, then secure the elastic to your inside fabric panel with cute buttons.
The scissors pocket: Cut a piece of fabric 3″ x 8″. Fold it in half width-wise, right sides together and stitch a 1/4″ seam, leaving an opening at the bottom to turn. Turn the fabric and tuck in the edges of the opening. Press, so everything is nice and flat. Stretch the 1 3/4″ x 1/4″ elastic edge to edge on the wrong side of the pocket, 3/4″ down from the top of the pocket.
Then stitch the pocket wherever you want on the inside panel.
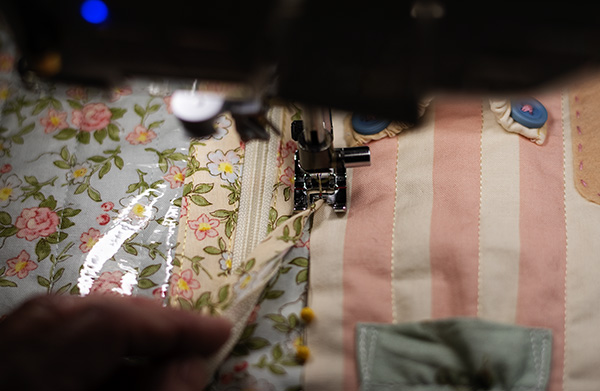
So, now, if you’re making your kit like mine, you should have a thread holder, needle felt and scissors pocket on the inside panel. We’ll wait to attach the pincushion at the end because it will get in the way of finishing the edges of the kit. Now it’s time to attach the inside and outside panels — at the same time, we’re going to attach the tops of the vinyl pockets. Go have some chocolate. Or alcohol. Take a break and stretch. Trim away the excess batting all around the edges of both the inside and outside panels. Place the outside panel right-side down on the table and then place the inside panel right-side up on top of it. Make sure you don’t have one of the panels upside down! Now we’re going to attach the panels together along the seam lines on each side of the center section. Starting with the left side and using your fingers to feel the two seams, line them up so that the inside seam is on top of the outside seam and pin along the seam as you go. Turn the piece over frequently and check the placement of the pins along the seam on the outside panel.
Now, grab a vinyl pouch top and go to your sewing machine. Lay the fabric edge of the vinyl pouch top just to the right of the seam and slowly stitch the vinyl pouch top down, removing the pins as you go. Hopefully, you didn’t say too many swear words. And remember, it doesn’t have to be perfect — there are so many cute things going on with your pouch, that no one is going to notice if everything isn’t exactly on the money.
Repeat that step on the other side, with the other vinyl pouch. Your sewing kit is now all attached and almost done! Lay everything out flat and trim the vinyl all around the edges. Then bind the kit around the edges, just like you would bind a quilt. (There are a lot of tutorials out there for bindings — I like to use a 2 1/2″ wide strip folded over double.) If you are using the leather ties as a closure for your kit (you can see how leather ties look here) , they should be attached to the center of the front of the kit when you attach the binding. Last steps: sew on a button (if you’re doing the button closure) and whip-stitch the pin-cushion to the inside of the kit.
TAH-DAH!!! You’re Done!!! I hope you have many years enjoying your beautiful new sewing kit!!!
XOXO,
Anna

