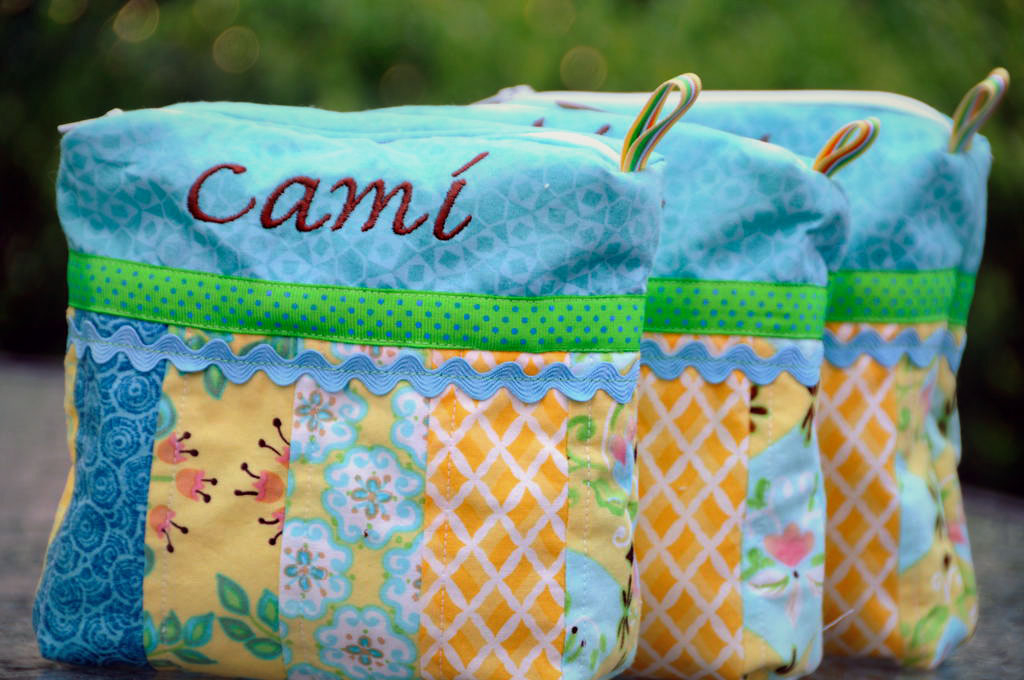
How to Make Goofy Bags
To start, you will need:
1 - 7" zipper
1 - approx. 18 inch x 9 inch piece of embellished fabric for the outside of the bag
1 - approx. 18 inch x 9 inch piece of fabric for the bag lining
Note: As always, click on a picture to make it larger.
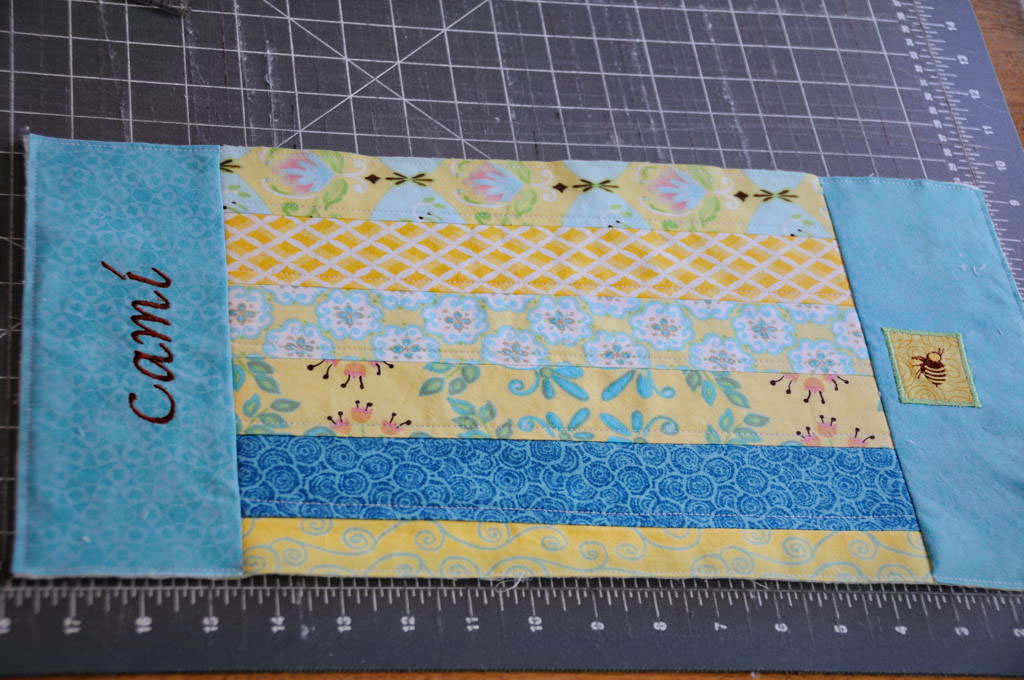
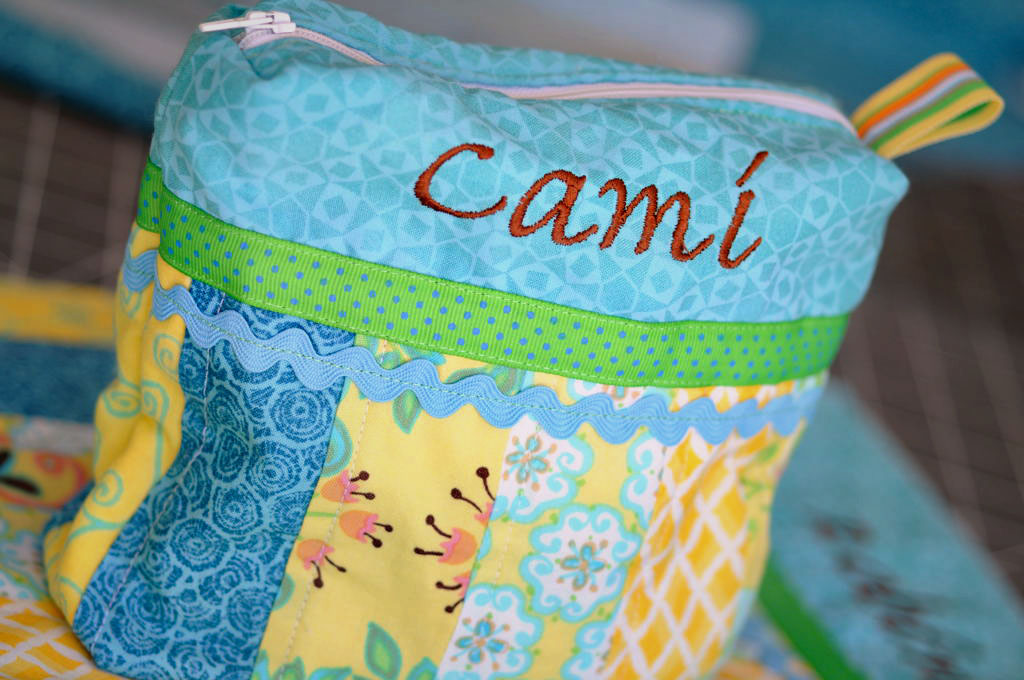
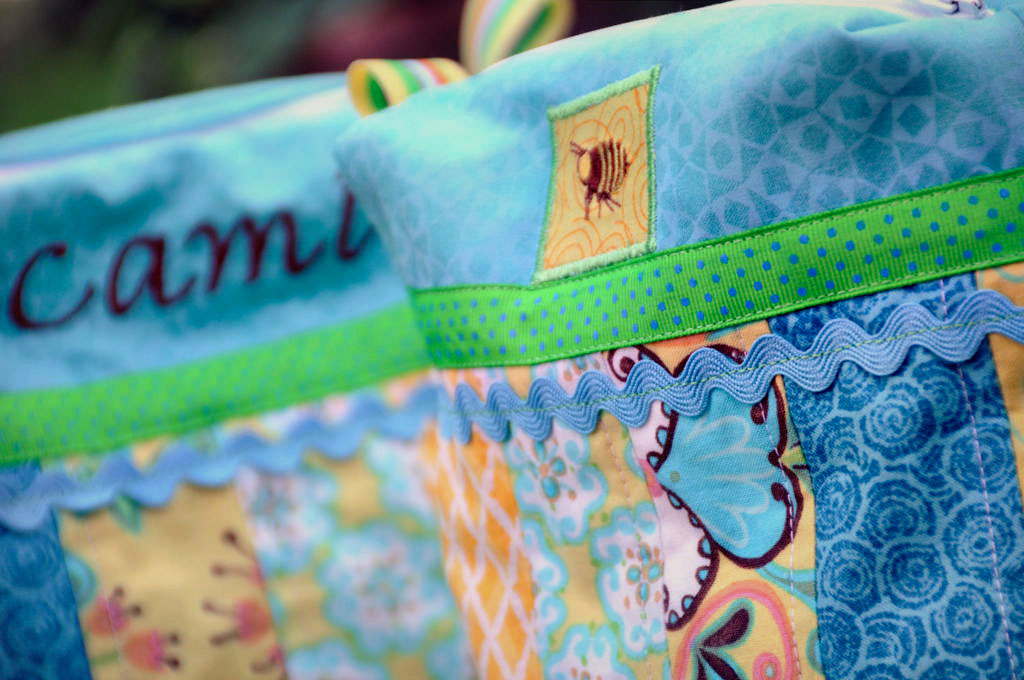
1. As mentioned, you'll need a piece of embellished fabric for the outside of the bag. You can make this any size that you want, depending on the size you want your finished bag to be. And the embellishment is left up to you. For this sample, I chose to make a little patchwork which I then quilted just a bit onto a heavy piece of fleece. Then I attached a few pieces of ribbon and ric rac (the picture below was taken before the ribbon was added.) I trimmed up my piece of fabric to be roughly 18 inches x 9 1/2 inches. We'll call this piece the outside fabric.
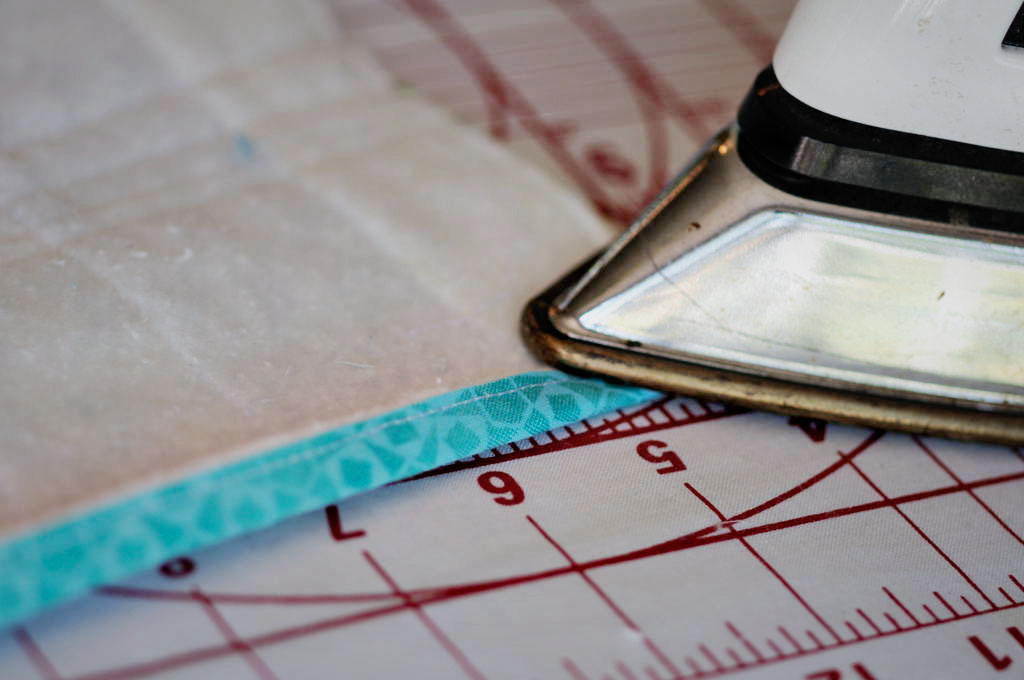
2. Turn the short ends of your outside fabric under 1/4 inch and press those edges down.
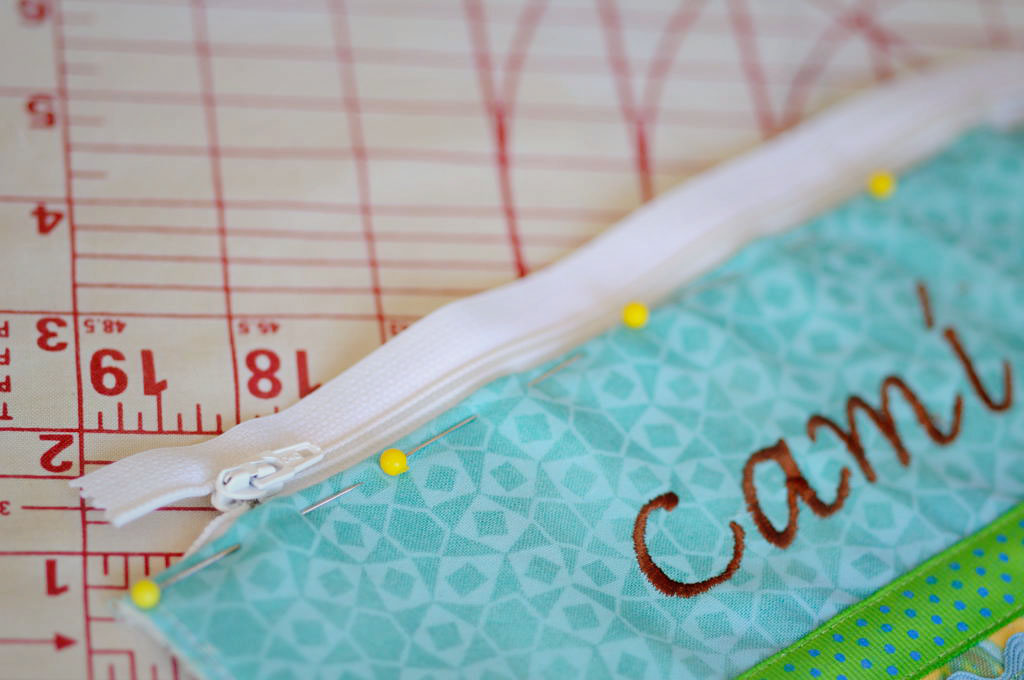
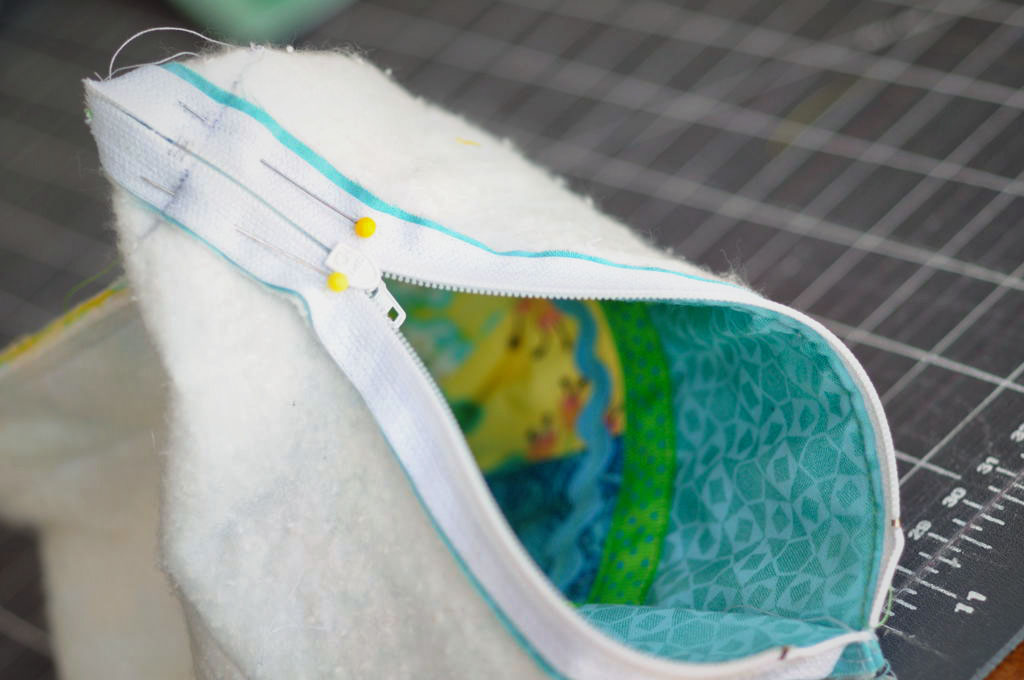
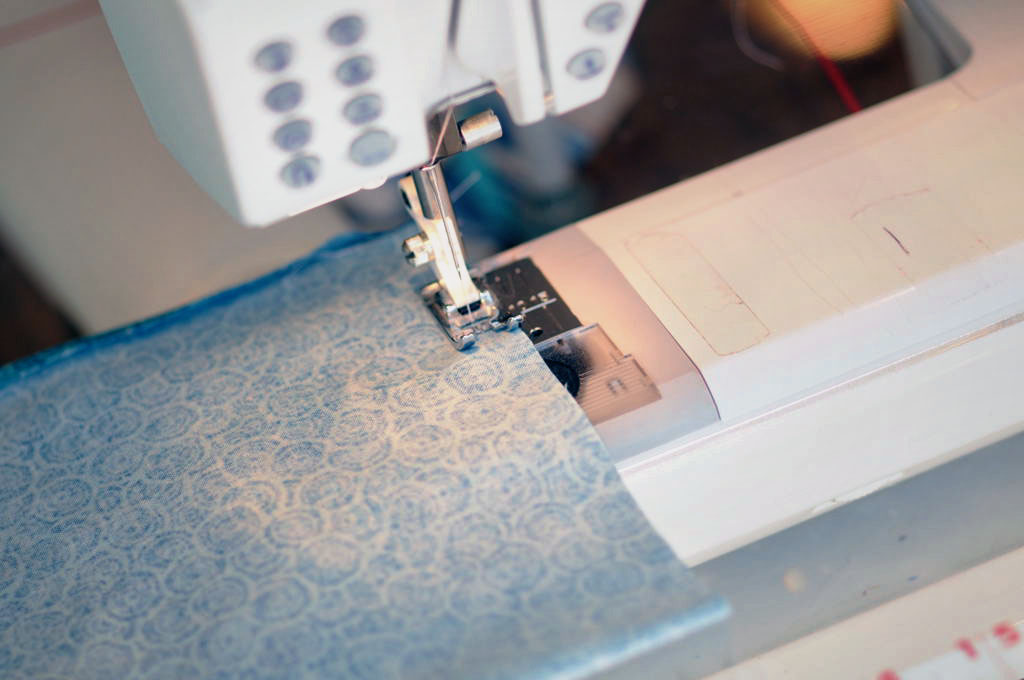
3. Flip the outside fabric, right-side-up, and center along one edge of the zipper. Pin the outside fabric to the zipper. (If you're really worried about applying a zipper, instead of pinning, you could use some sort of adhesive product like fabric glue or steam-a-seam.)
4. Using the zipper foot on your sewing machine, stitch very close to the edge of your fabric, removing the pins as you go.

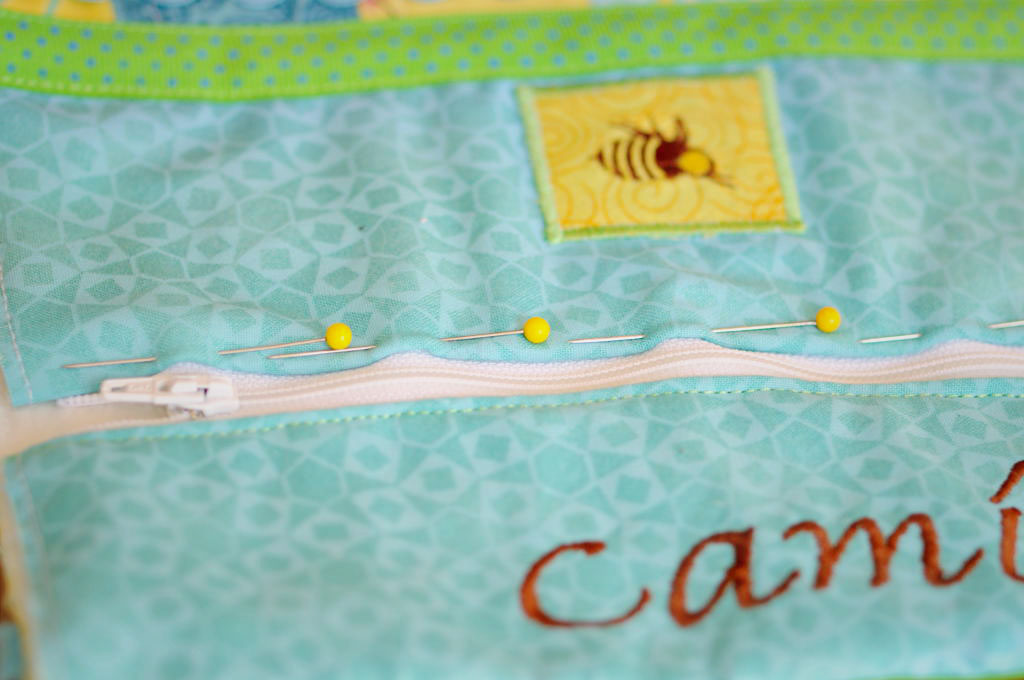
5. Pin the other short side of the outside fabric to the other right side of the zipper, making sure that the zipper is again centered along the edge of the fabric.
6. Your outside fabric will now look like a tube.
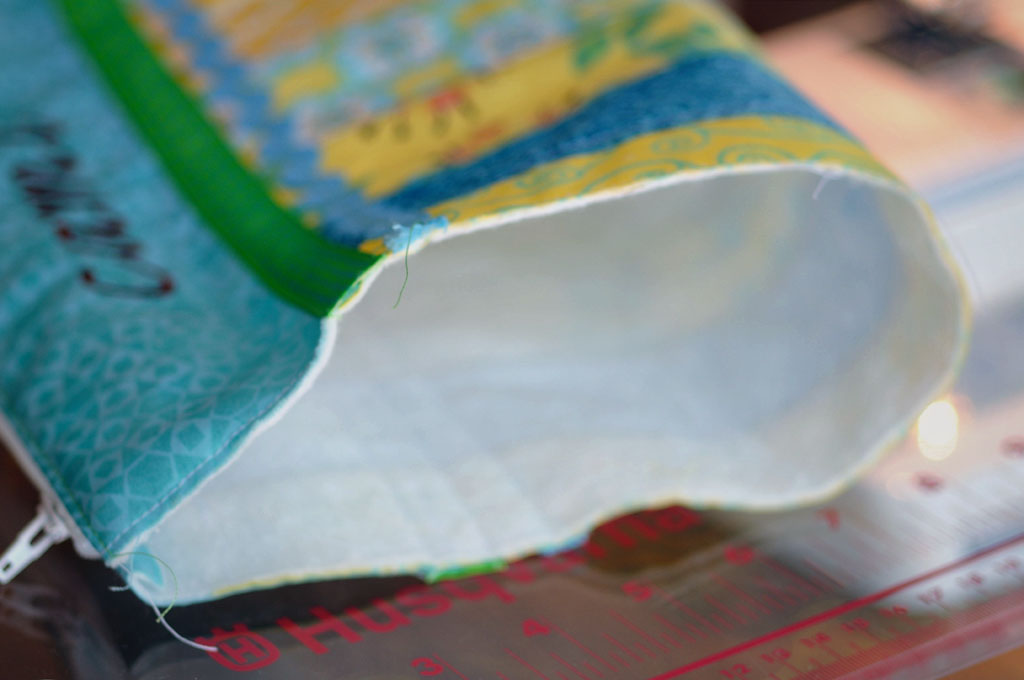
7. Now, you need to stitch that second edge down. This can be a bit tricky. I find the easiest way is to turn the tube inside out and then scrunch up the fabric that is above the zipper.
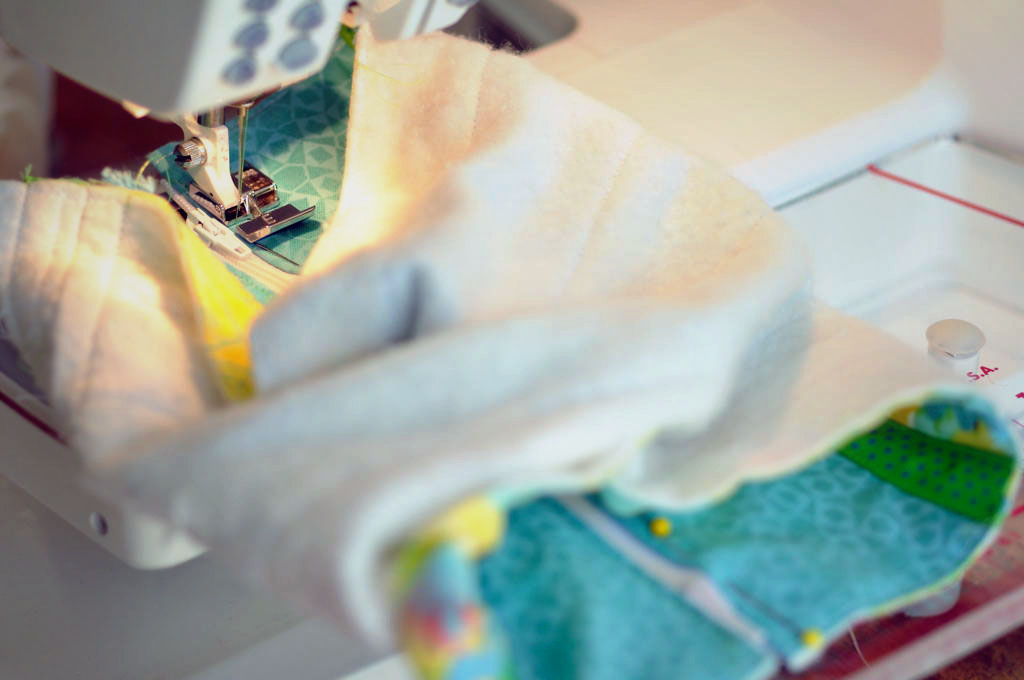
8. As you sew along the zipper, it helps to unzip the zipper after you've sewn for a few inches.

9. If you'd like, you can turn the bag right-side-out and zip and unzip the zipper and marvel at how easy that was!
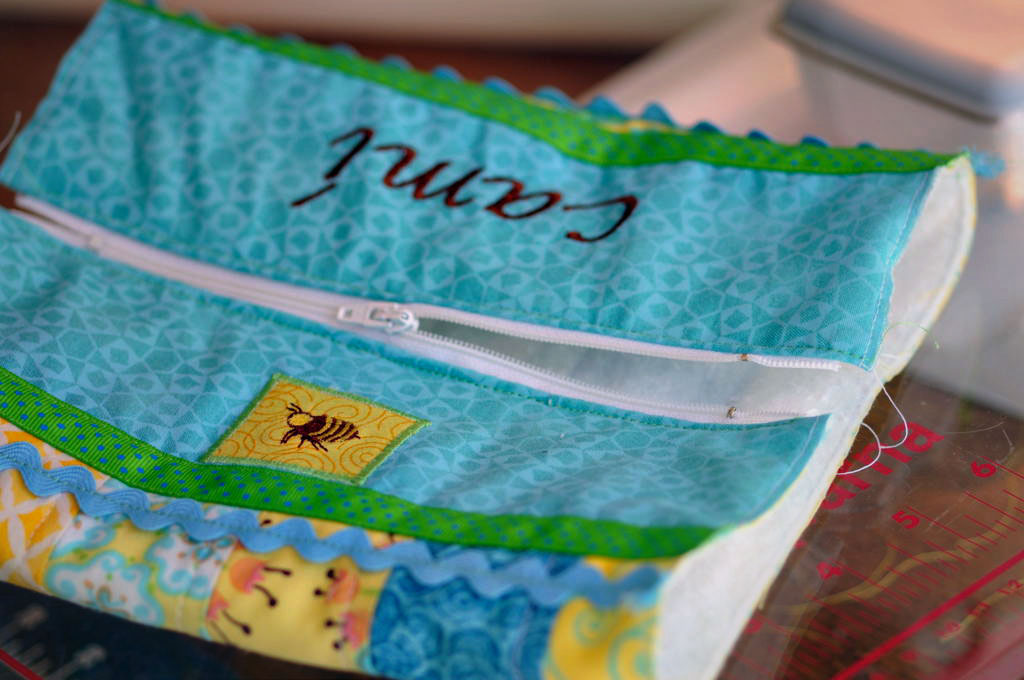
10. See the outside ends of the bag? Now, you're going to sew those end seams. If you have trim on your outside fabric, you'll need to pay attention to how those trims line up to each other on the ends of the bag. These ends are "sort of" matched.
11. Turn the bag back inside-out and fold the right sides together so that the zipper is running along one edge, which we'll call the top. Pin the open sides closed (matching those trims if you have them!) and open the zipper just a bit (this will make it easier for turning after the seams are sewn.) Stitch a 1/4 inch wide seam down both of the open sides of the bag.

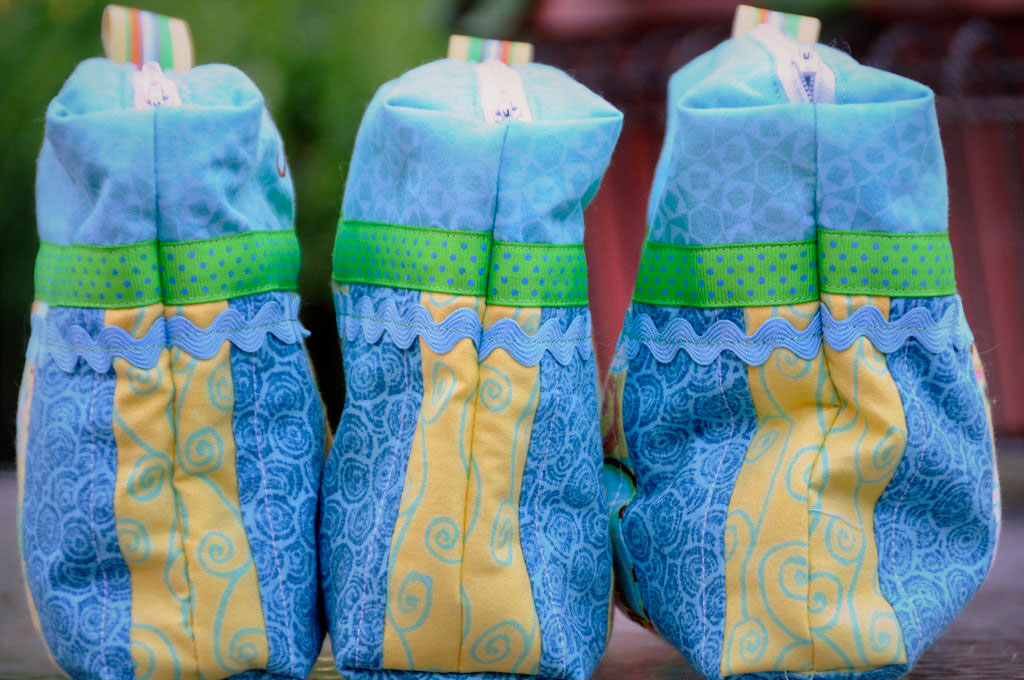
12. Now we're going to box off the four corners of the bag. See the little tabs on the finished bags?
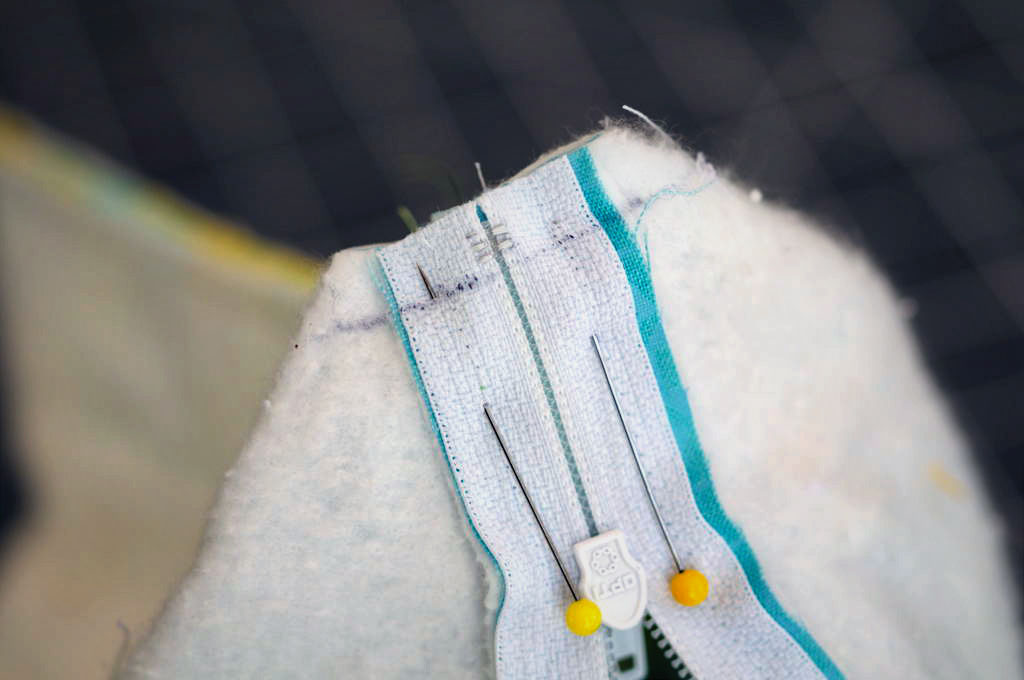
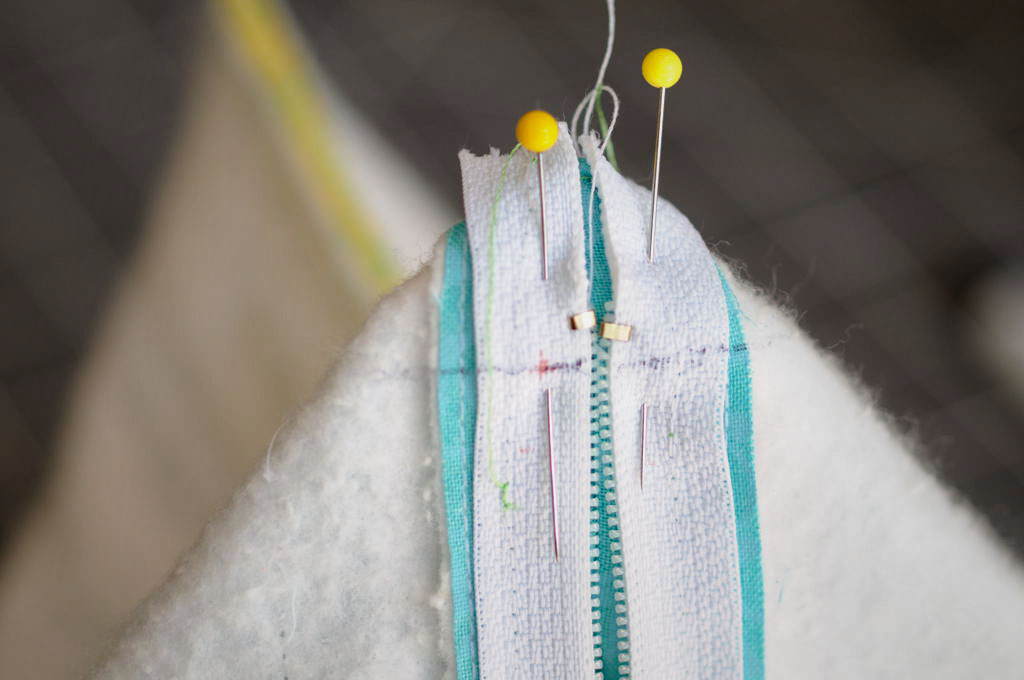
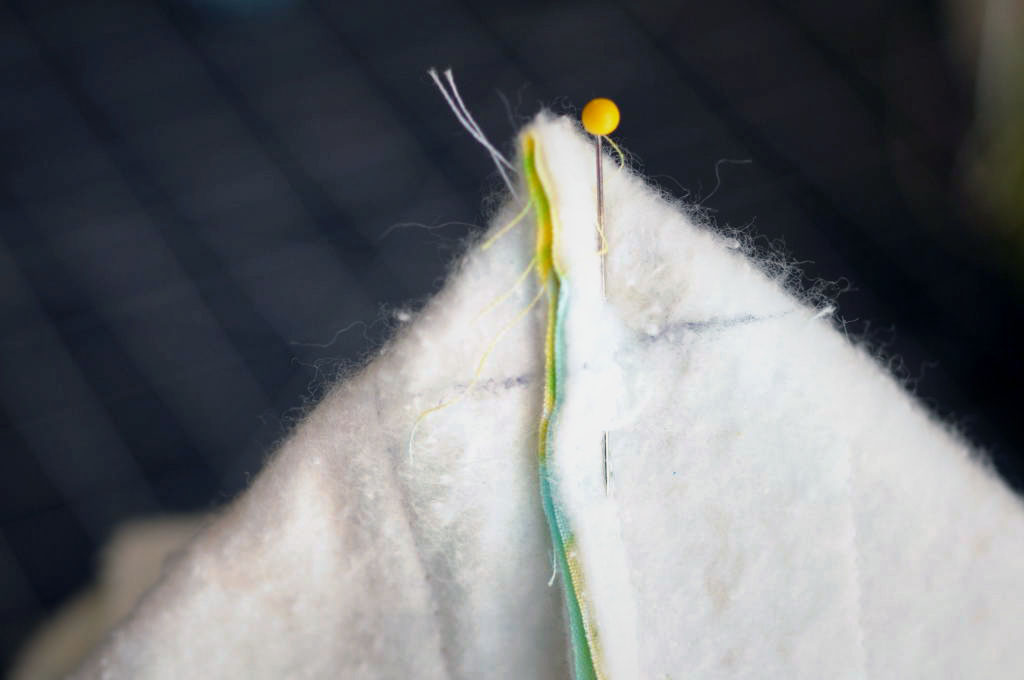
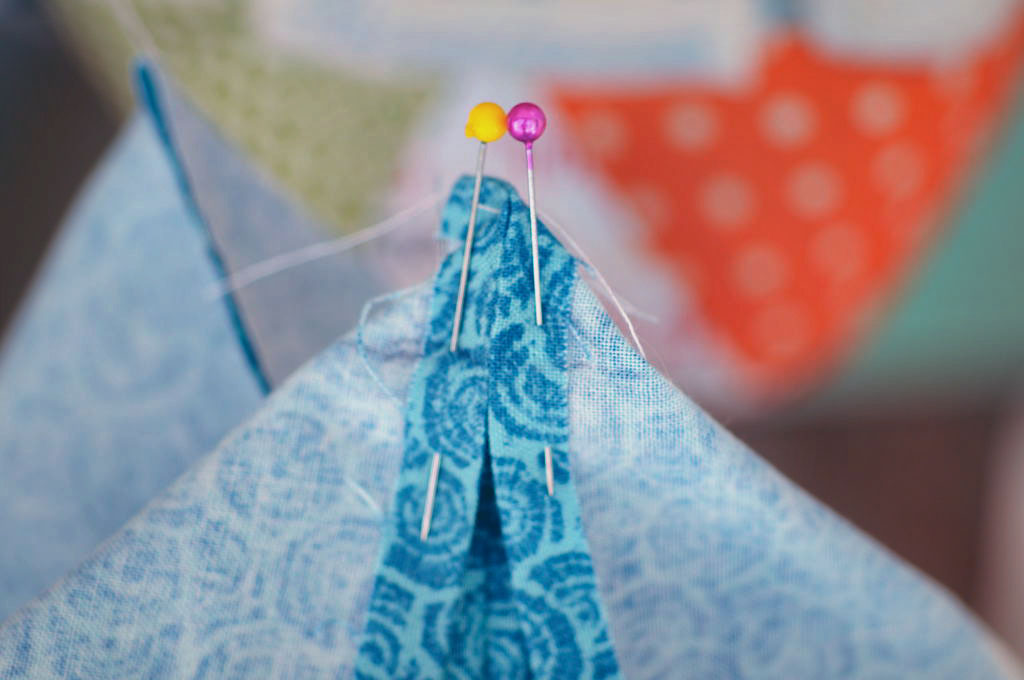
13. We're going to start with that corner. Fold the corner with the closed zipper end into a peak, holding the zipper so that it lines up with the side seam on the right side of the bag. Pin the zipper seam down to the side seam.
14. Measure down approximately 1 inch and draw a stitching line.

15. Oops! We forgot to add the ribbon tab. Cut a piece of ribbon approximately 3 inches long. (I know the picture shows 3 1/2 inches but that was a bit long. The narrower the ribbon is, the shorter you can cut it.)

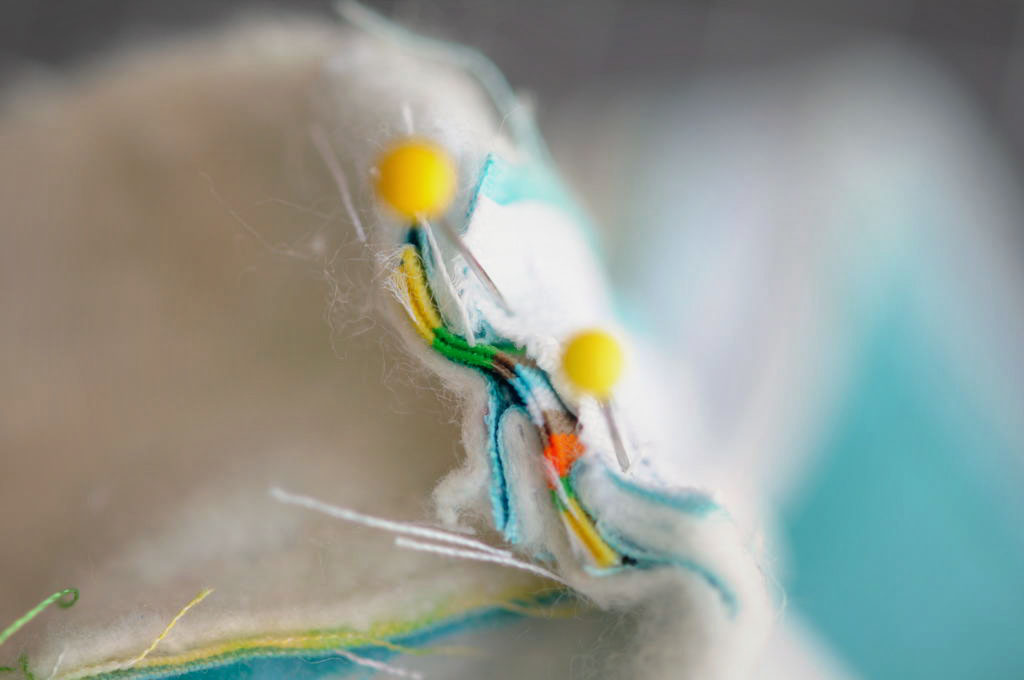
16. Cut the pointy peak off 1/4 inch from the drawn line. Carefully unpin the zipper seam from the side seam. Fold the ribbon in half and insert the folded ribbon into the opening, lining the raw edges of the open seam up with the raw edges of the ribbon.
17. Repin the zipper seam to the side seam. The end view should look like this. See that ribbon sandwiched in there? Now, stitch across the drawn line.
18. Repeat steps 13, 14, 16, and 17 (without the folded ribbon) on the open end of the zipper.
19. And repeat those steps on the other two corners for the bottom of the bag. On the bottom of the bag, you won't have a zipper seam to line up to the side seam, you'll have to line up the bottom, folded edge of the bag to the side seam (shown here with the side seam up.)
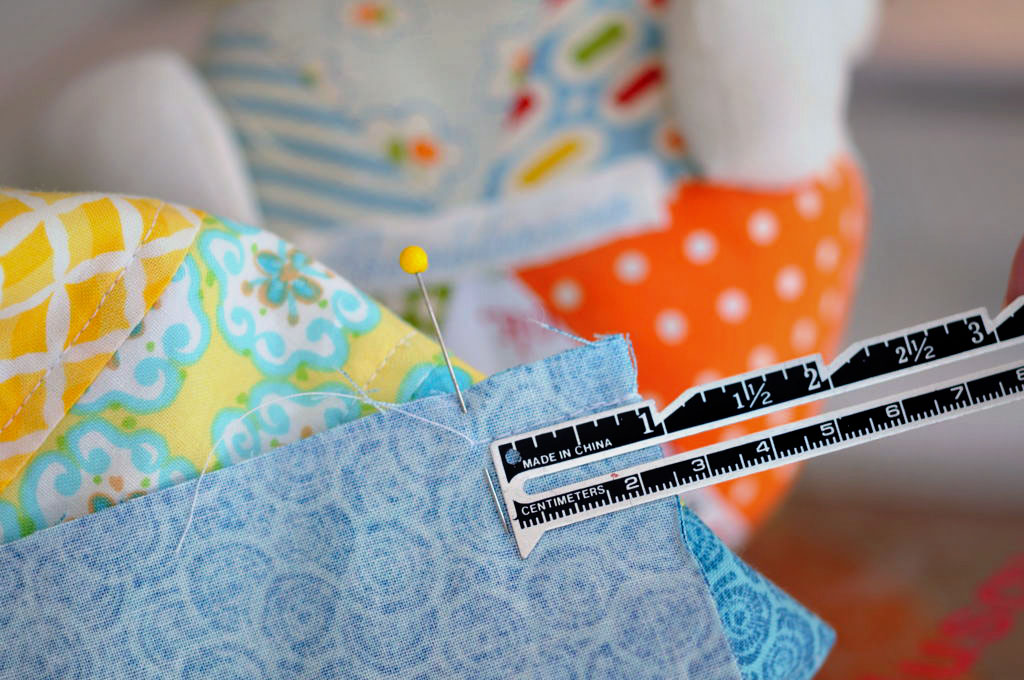
20. Congratulations! The outside of your bag is done. Now, it's time for the lining. Fold the lining piece in half, right sides together, matching up the two short sides. Measure approximately 1 inch in from the edges and place a pin. Stitch a 1/4 inch seam from the pin to the outside edge on both ends. Sorry, I didn't get a good picture after it's sewn -- you'll be sewing two little 1 inch sections. Your stitching will basically run along the top edge of the little black ruler in the picture.
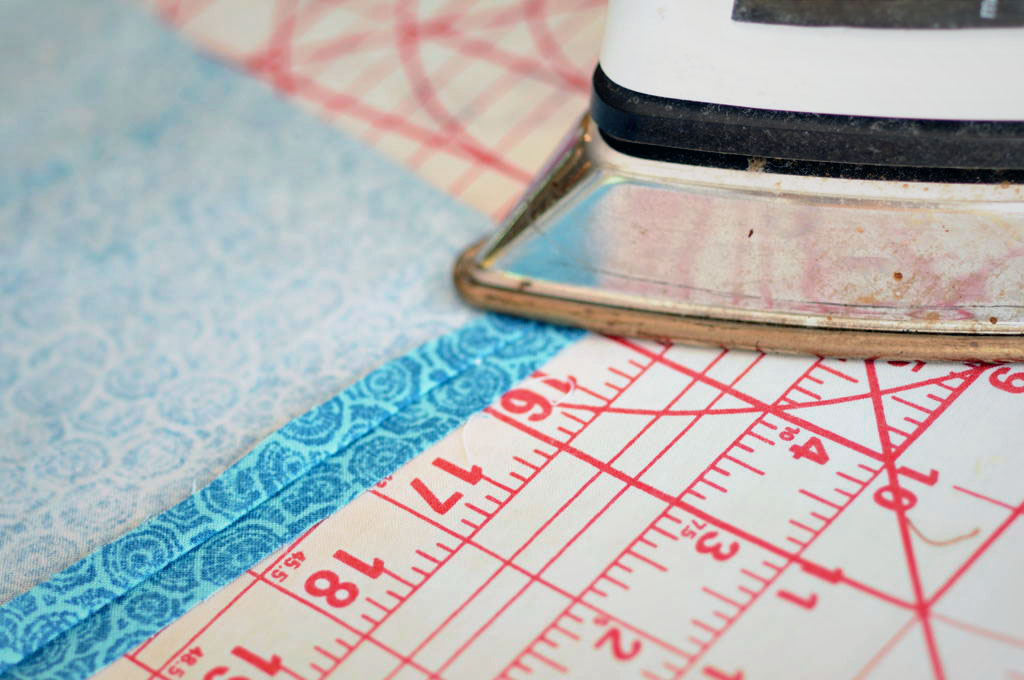
21. Press those little 1 inch long seam ends open and continue pressing that raw edge over 1/4 inch on both of the short edges of your lining.
22. Your lining is now in a tube, just like the outside fabric was in step 6. The difference is that where the outside fabric had a zipper, your lining has an opening with the raw edges turned under 1/4 inch. Now, just like in step 11, you need to sew a 1/4 inch wide seam along the open, unpressed edges of the lining.
23. Box out all four corners of the lining, just like you did for the outside fabric. (You won't be adding a ribbon loop to the lining, however!)
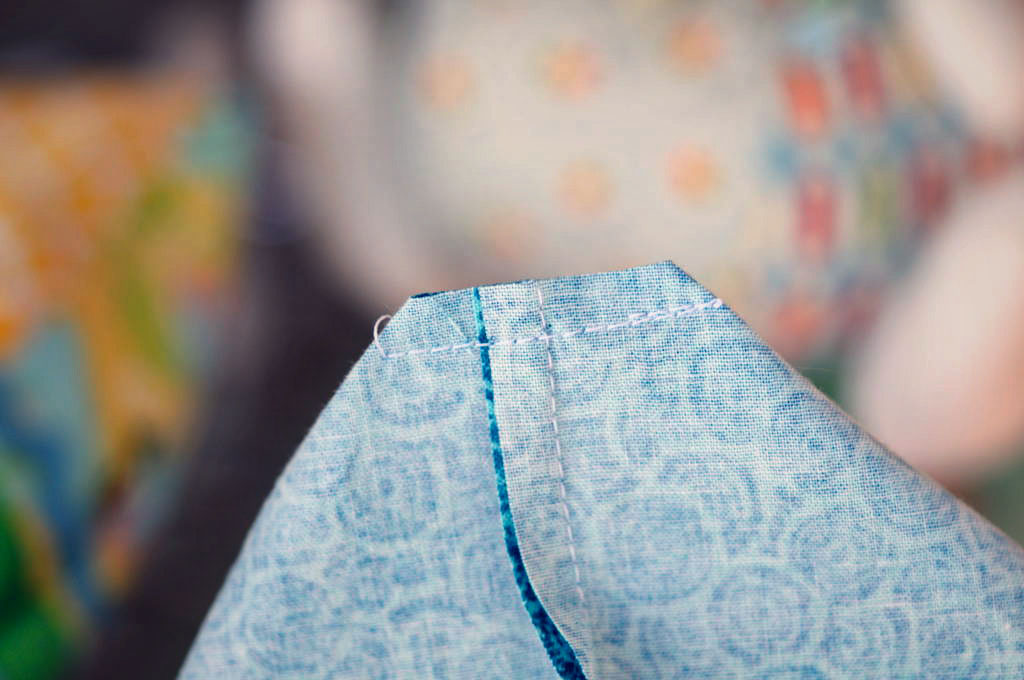
24. One of the corners after it's been sewn and trimmed.
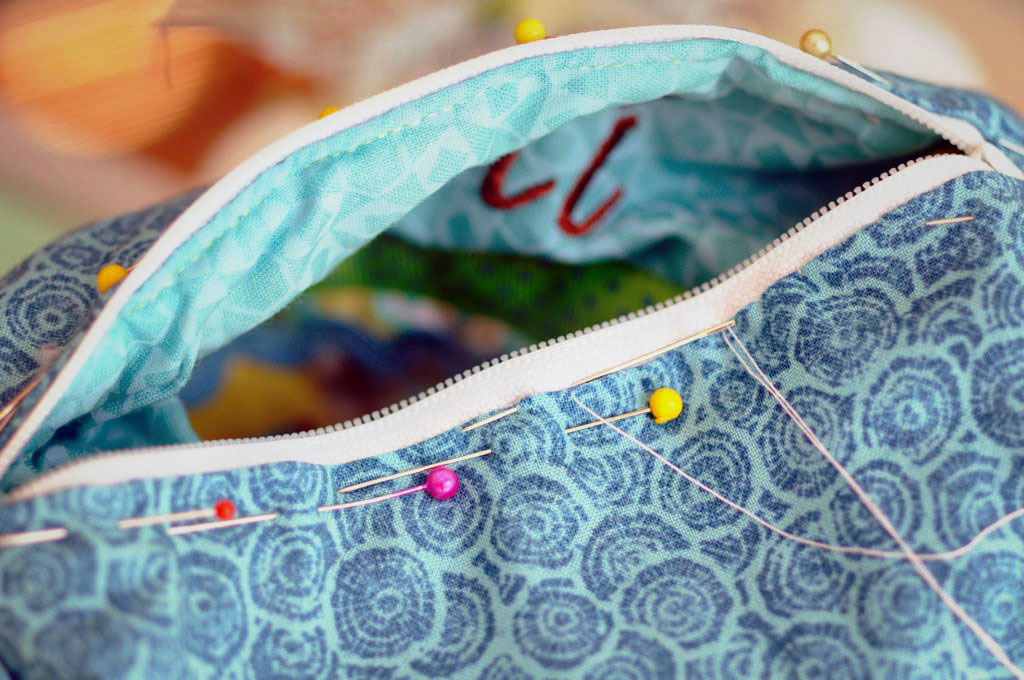
25. Turn the lining bag right side out. Turn the outside of the bag wrong side out and place it inside of the lining bag. Line up the edges of the top of the lining along the edges of the zipper. Pin the lining to the zipper and blindstitch along the edges. (Hand stitching is not a dirty word!)
26. When you're done, flip the whole bag right side out and Viola! You're Done!
Now you can go play with your camera and take some pictures of your Goofy Bag project!
Blogged about here.