Thimbleanna

Recipes

Summer — Don’t Leave Me!

I know everyone is posting about fall. About how the weather is changing, the leaves are starting to turn, and Halloween will be here soon. But I’m not ready! Summer went by too fast. And we just got that darn new grill!

So, in its honor, I’m posting one last summer/grill recipe. Grilling season isn’t over yet. We still have Indian summer. And besides, there are a bunch of you down under who are just getting ready for summer. So, this recipe is for you. It’s a recipe for grilled potatoes wrapped in foil. They make a great side dish and since they’re grilled in foil packets, the clean up is very easy.

1 Foil Potatoes

Grilled Potatoes in Foil

1/2 c. Miracle Whip salad dressing (don’t let this scare you, it melts and disappears while cooking)
3 garlic cloves, minced
1/2 t. paprika
1/4 t. each: salt, pepper
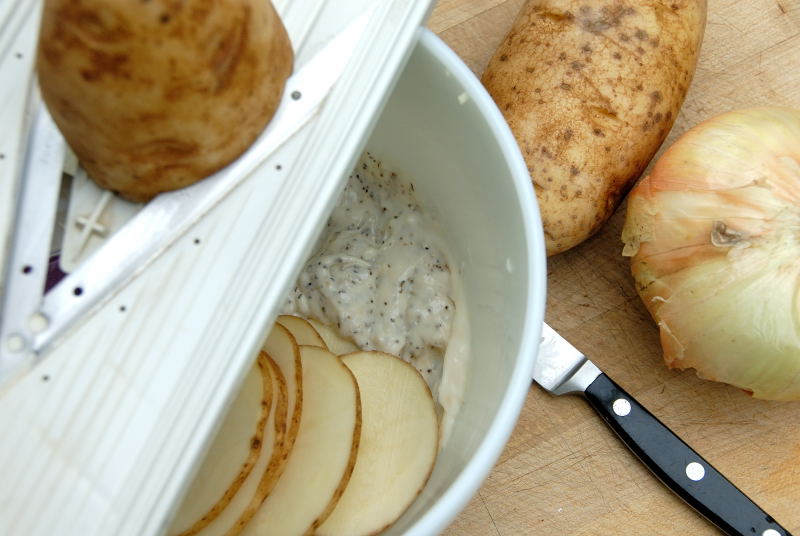
3 baking potatoes, cut into 1/4-inch slices
1 large onion sliced

2 Foil Potatoes
  • Mix together salad dressing and seasonings in large bowl until well blended. Stir in potatoes and onions to coat.
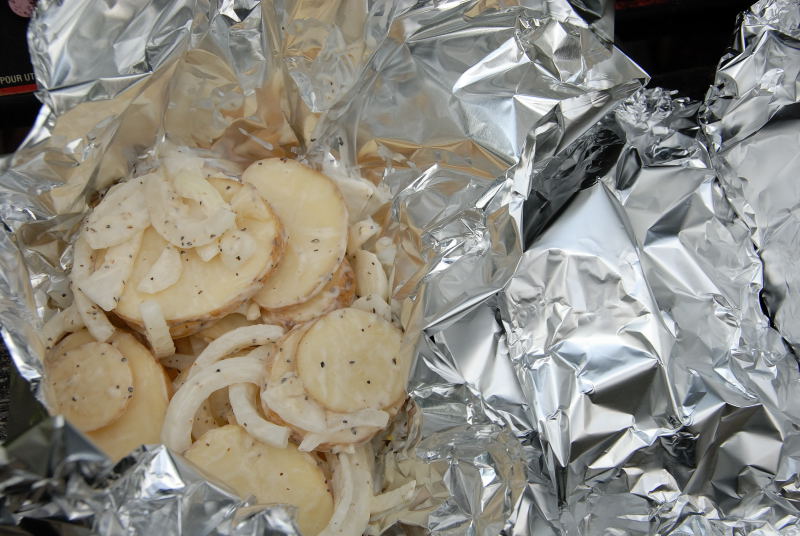
  • Divide potato mixture evenly among six 12-inch square pieces of heavy-duty foil. Seal each to form packet.
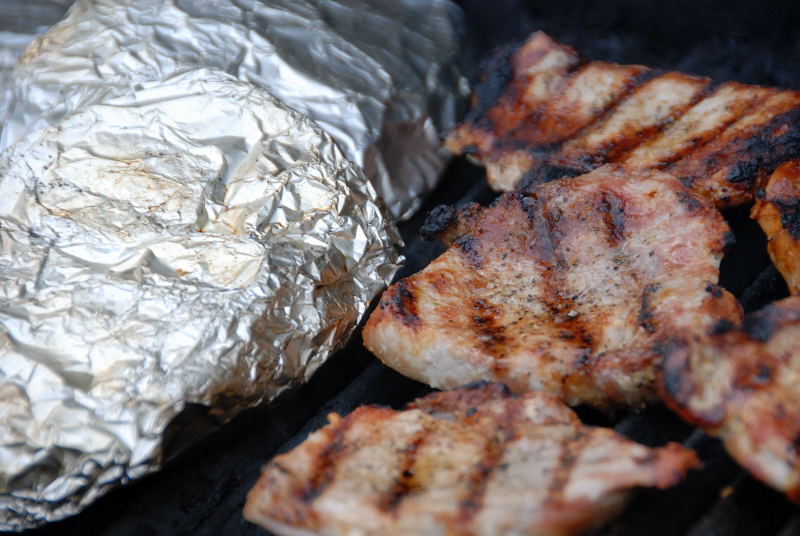
  • Place foil packets on grill over medium-hot coals. Grill, covered, 25 – 30 minutes or until potatoes are tender.

Makes 6 servings.

Throw those potato packets on the grill, burn your pork chops and you’re ready for dinner!

3 Foil Potatoes

We’re off to see TheSecondChild tomorrow for parents weekend.  I hope you all have a wonderful weekend.
XOXO,
Anna

P.S. Are all the rest of you being killed with spam comments?  I can filter out most of the drug spam (so if you decide to send me a comment containing “viagra”, “levitra”, etc., your comment will go into moderation!) but I’m having trouble with the Paris Hilton spam.  What words do I filter out?

  • Paris – what if someone wants to comment on a great trip to Paris?
  • Hilton — a comment about a great Hilton to stay in?
  • Crotch — there is occasionally sewing content here — what if we need to discuss crotch seams?
  • Photos — Hello?  We discuss photos all the time!

Send advice!  ;-)

Blog-able Feast Friday: Raspberry Lemon Pie!

Welcome to Blog-able Feast Friday! A moment of applause, please, for Hollycakes — hasn’t she done a fabulous job of organizing a baker’s dozen of bloggers and keeping us all on task? I’m honored and thrilled that today is my day to participate. I join Morgan in the group of non-designers — well, unless you count software design, which pales by comparison to fabric design. Oh, to be able to fondle fabric (instead of a keyboard) professionally! And Morgan thinks she’s intimidated? Gosh, I have to follow that gorgeous carrot cake! Oops…where was I? Oh yes, you’re here for the dessert!

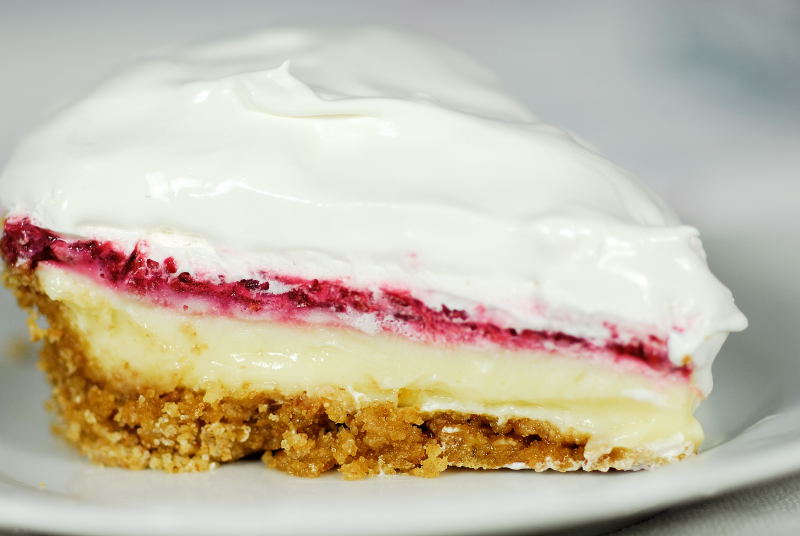
Today’s feature is a Raspberry Lemon Pie. Nice and easy for when you’re having friends over to sew or discuss a good read.

Raspberry Lemon Pie

Raspberry Lemon Pie

1 (10-oz.) package frozen red raspberries in syrup, thawed
1 T. cornstarch
3 egg yolks
1 (14-oz.) can sweetened condensed milk
1/2 cup ReaLemon lemon juice from concentrate (This could be a marketing ploy – I don’t know why real lemon juice wouldn’t work.)
1 (6-oz.) packaged graham cracker crumb pie crust
(I prefer to make my own graham cracker crust – it’s not as pretty, but I think it has more flavor. Recipe follows.)
Whipped Topping

Preheat oven to 350 degrees. In small saucepan, combine raspberries and cornstarch; cook and stir until thickened and clear. In medium bowl, beat egg yolks; stir in sweetened condensed milk and lemon juice. Pour into crust; bake 8 minutes. Spoon raspberry mixture evenly over top. Chill 4 hours or until set. Spread with whipped topping and serve.

Graham Cracker Crust
Combine 1 cup crushed graham cracker crumbs, 1/3 c. sugar and 1/3 c. melted butter. Press into the bottom of a pie pan. Bake for 10 minutes at 350 degrees.

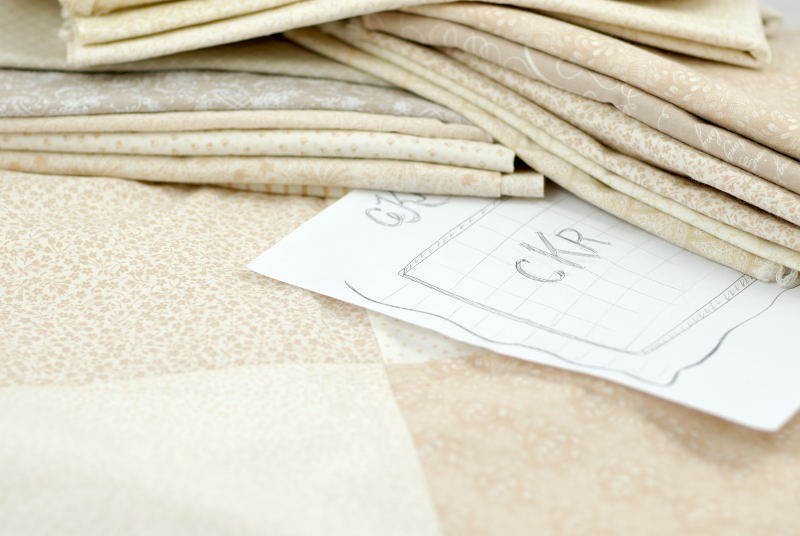
Now for a project I’m currently working on. I’ve started a wedding quilt for TheFirstChild and SweetiePie. SweetiePie and I sat down and drew up a plan: she loves a) neutrals, b) mocha, and c) monograms. So, we decided on a simple patchwork background of neutrals with mocha highlights for the inner border, binding, and their new married monogram.

Wedding Quilt

I’m currently piecing the top, but in light of Pam’s post yesterday (Big Congratulations Pam!), I might have to check out Alex Anderson’s new quilting book on neutrals. That will provide a good diversion while I wait on my Lakehouse fabric order – I’ve ordered some of the much-loved champagne dots that I’m hoping will work for the outside quilt border.

So, Hollycakes! Thanks so much for inviting me to participate in the blogable feast. It’s been great fun to “meet” the bloggers and collect some fabulous recipes that will be perfect for when my quilting friends get together!

XOXO,
Anna

Chicken Enchiladas

Boy, you have all certainly been busy while I was gone. I just can’t seem to get caught up, but it’s been fun reading some of your blogs and being inspired. You all need vacations! I don’t think I’ve even whittled my bloglines down 50%, and the weekend is coming again. I always get behind on the weekend. Can you get behind if you’re already behind?

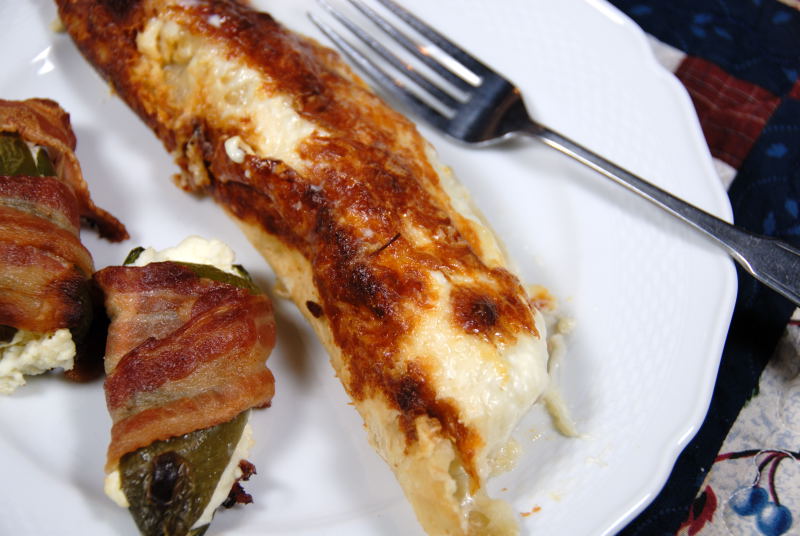
I’m on business travel again until tomorrow, so that means I’m posting a recipe. These chicken enchiladas should be what my little family had for dinner tonight — I made them in advance and left them for my HungryMen. This is one of our favorite recipes for a number of reasons. First, they’re rich and delicious. If you’re on a diet, you should probably just skip this post altogether. (Unless, of course, you have incredible willpower and can eat a very small portion.) Second, they might look a little detailed to make, but they’re really pretty easy. And third, they’re very versatile. I first had them at a VERY nice dinner party, so they dress up well. Or, they can dress down, as we usually have them — nothing fancy. They’re pictured here with the VERY yummy jalapeno poppers that were featured on Pioneer Woman Cooks recently. The enchiladas are looking quite over-done in this picture ’cause I love the cheese nice and crusty brown, but trust me, they’re REALLY good. MeMum and I make them for several people who have visited us and they always ask for the recipe.

Chicken Enchiladas

Creamy Chicken Enchiladas

1 T. butter
1 medium onion, chopped
1 4.5 oz. can chopped green chilies
1 8 oz. pkg. cream cheese, softened
8 8-inch flour tortillas
2 8-oz. packages Monterrey Jack cheese, shredded
2 c. whipping cream
3 1/2 c. chopped, cooked chicken breast

Melt butter in large skillet over medium heat; add onion, and saute 5 minutes. Add green chilies; saute 1 minute. Stir in cream cheese and chicken; cook, stirring constantly, until cheese melts.

Chicken Enchiladas

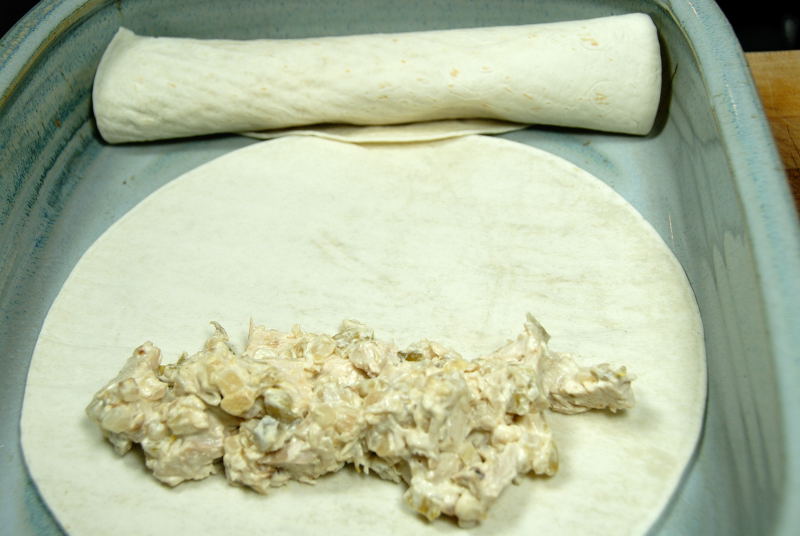
Spoon 2-3 T. chicken mixture down center of each tortilla. Roll up tortillas and place seam side down, in a lightly greased 13 x 9 baking dish. Sprinkle with Monterrey Jack cheese and drizzle with whipping cream. To lighten, substitute half milk. (But we never do, we’re oinkers!)

Chicken Enchiladas

Bake at 350 degrees for 45 minutes, or until bubbly and browned just the way you like them.
Yum, Yum. I hope they have some left when I get home!

XOXO,
Anna

SweetiePie Loves Flaky Beef Buns

Red Bunny and I are having a great time reading all of your comments and dreaming of all the new places he might call home. (Notice I said he — I found it such fun to see some people call him a she and some a he. For some reason, I’ve always thought of my bunnies as “he’s.” Unless they have pink in them. Maybe it’s that whole sticking pins in him thing. And by the way, I’m very touched by so many of you who are concerned that the pins might be hurting Red Bunny. We prefer to think of this treatment as accupuncture, vice VooDoo. Male bunny notwithstanding. ;-) )

Thank you all so much for all your wonderful comments. You’ve made the move fun, in spite of the little bugs here and there. As I learned a new mail tool, I managed to send an e-mail to the wrong person. Oops! And I mistakenly thought that if I did a little test post before anyone knew about the new place and then deleted it, it would be gone. Oops2. It apparently still hangs out there in the RSS feed, so bloglines picked it up. Red Bunny and I were Red Faced! And speaking of bloglines, it doesn’t seem to like the new feed, as it doesn’t keep track of subscribers. Oh well, change always brings a few hitches, no?

While Red Bunny and I hang around reading comments and preparing for the drawing (don’t forget to enter your name on the Welcome post if you’d like Red Bunny), we thought we’d share with you a favorite family recipe. It’s also a new favorite of SweetiePie’s.

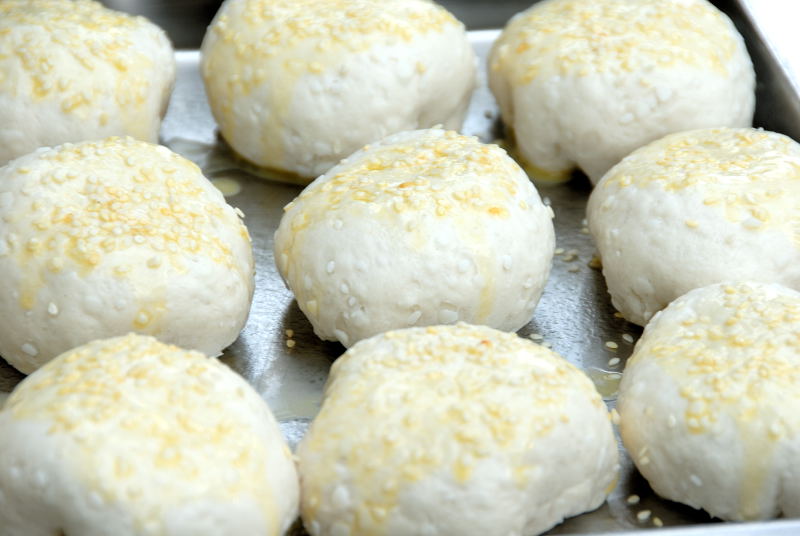
Beef Buns 1

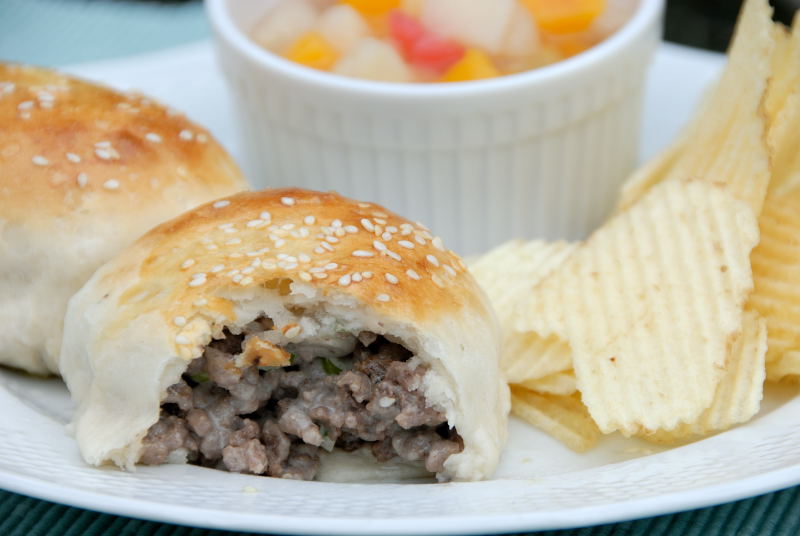
Flaky Beef Buns

1/2 lb. ground beef
1/3 cup chopped green onions, including tops
1/4 cup mayonnaise or salad dressing
1 T Dijon mustard
1/8 teaspoon pepper
10-oz. can Hungry Jack Refrigerated Flaky Biscuits*
1 egg, slightly beaten
Dash salt
1 T sesame seed

Beef Buns 2

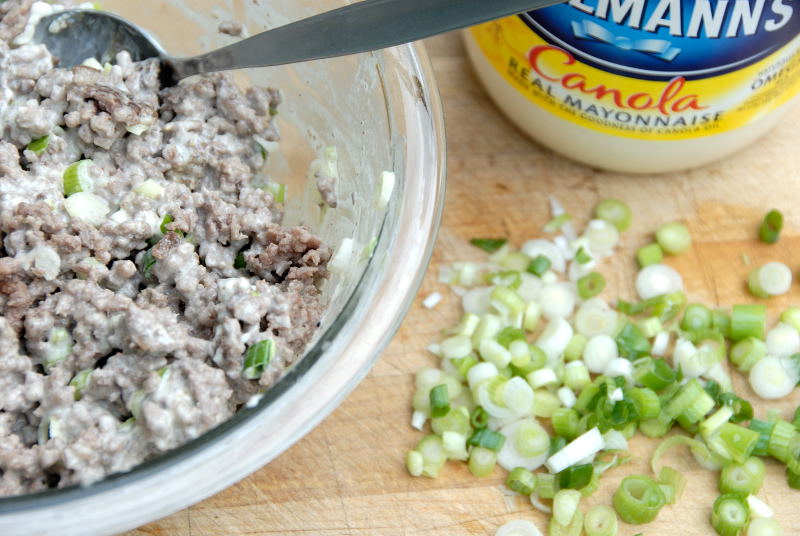
Heat oven to 375 degrees F. Lightly grease cookie sheet. In large skillet, brown ground beef; drain. Remove from heat. Add green onions, mayonnaise, mustard and pepper; mix well. Separate dough into 10 biscuits; press or roll each to a 4-inch circle. Spoon 2 tablespoons meat mixture onto center of each circle. Bring dough up over meat mixture; pinch edges together to form buns. Place seam side down on prepared cookie sheet; brush with beaten egg and sprinkle with sesame seed. Bake at 375 degrees for 12 to 16 minutes or until golden brown.
*If you don’t have access to Hungry Jack biscuits, you could just use any biscuit dough (that’s American style biscuits, not cookies!), cut it into rounds and then flatten them out before filling them with the meat mixture.

Beef Buns 3

I’m enjoying all of the Encyclopedia of Me posts out there, started by Cassi. I’d really love to participate, but I’ll be absent for a bit, later in the month, so I don’t think it will work. What a fun idea though!

XOXO,
Anna